
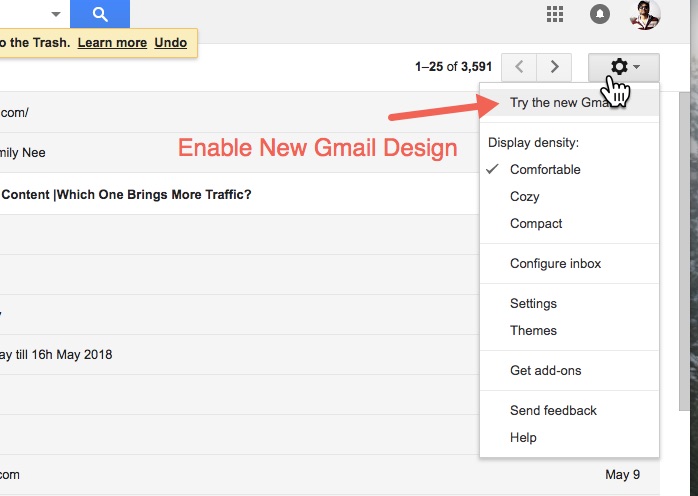
Google recently did some face lifting to its email product, Gmail. The new design makes Gmail look quite a refreshing and fun to use.
Along with the new design changes Gmail also has got some exciting features and one of the features that is being talked about the most is the self-destructive emails.

Yes, along with normal emails you can now send emails that will auto expire, which means it will get deleted from the recipient inbox.
In this post, we will talk about how you can send self-destructive emails or how you can turn on auto expiring emails.
Wouldn’t be sending all over email with an expiry date so this feature is not enabled by default but you can enable it whenever you require.
How to enable Self-destructive email feature
Click on the compose button that you can find on the top left-hand side, a new window will appear in the popup where you can compose your email. At the bottom of the window, you will find a handful of options alongside with send button.
On the extreme right-hand side in the same row, you will find a ‘lock’ icon, which will have a ‘clock’ icon on it. Once you click on that icon, you will be prompted to choose your settings for the auto-expiration of the email.
You can choose the expiry date from one day to 5 years.
Along with sending auto expiring emails, you can also turn on the option to require a password to open the email. The passcode will be sent to the recipients mobile phone linked to users Gmail account. It is something like two-step verification but for individual email.
The confidential emails have also got the feature which also restricts the emails from forwarding or copying. But the recipient can obviously take a photograph for a screenshot. Either way, it is still nice to have such features available right inside Gmail.
You can check out more tips and tricks related to Gmail in this article.