
If you get frustrated with the shake he videos coming out from your mobile phone, this article is going to be helpful for you. You can stabilize video footage even from your budget mobile phone. Read the article for them to know more about it.
On this blog, we have a section dedicated to mobile filmmaking. Even the budget smartphones these days come with decent cameras that can be used for making videos.
There are so many success stories of YouTubers starting their careers using the mobile phone, and there are popular YouTubers who use a mobile phone for making videos even today.
Though we recommend having a smartphone with the Optical Image Stabilization feature or at lease, Electronic Image Stabilization (EIS), if you do not own a smartphone with either of the features, you can still get rid of those jerks and shakes from your videos.
How to stabilize your videos on mobile?
You would require the app to stabilize your videos, it’s Google Photos, which, probably, would already be installed on your smartphone.
It is an amazing photo app from Google which offers unlimited storage so that he can upload all your photos in the cloud and free up your mobile storage, know more about Google photos.
The features of Google photos is, it gives you the ability to stabilize videos. The good part is, you don’t have to upload it in order to use the Stabilize feature, it can work on the videos you have just shot using the camera of your smartphone.
If you haven’t already recorded the video, try to make it as smooth as possible by holding it straight, or you can also use Gorillapod for a selfie stick to get the better grip.
“If you have already shot it, well, it’s time for Google photos to do the magic”.
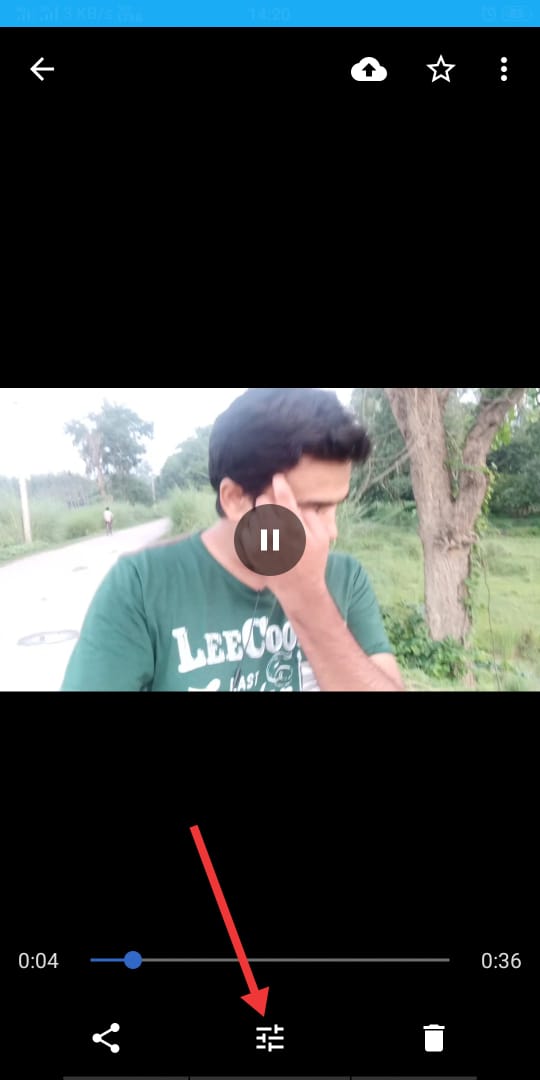
- When you open Google photos app, the video will appear in the gallery,
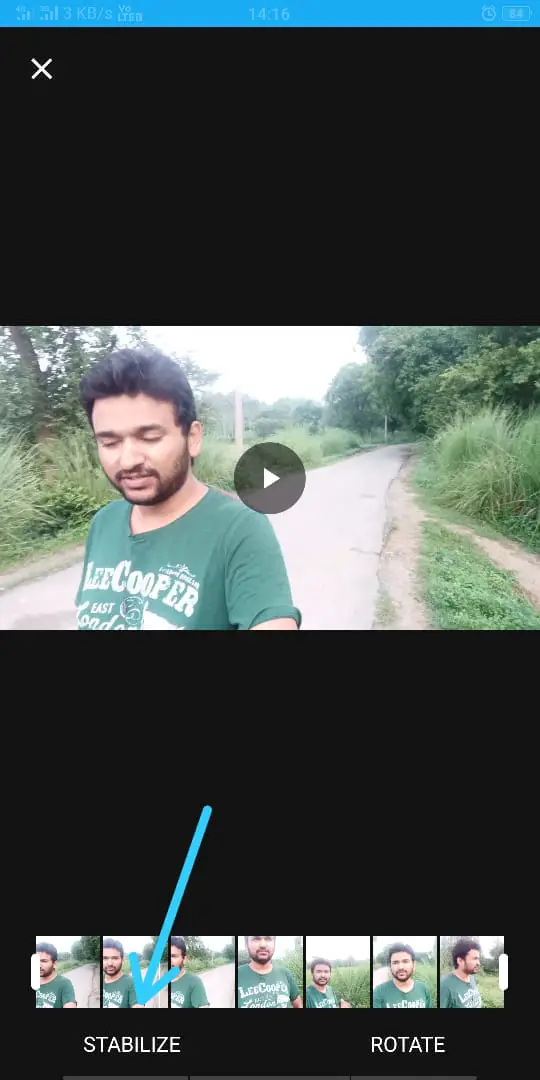
- Open the video and you will get the option of stabilizing on the bottom left.
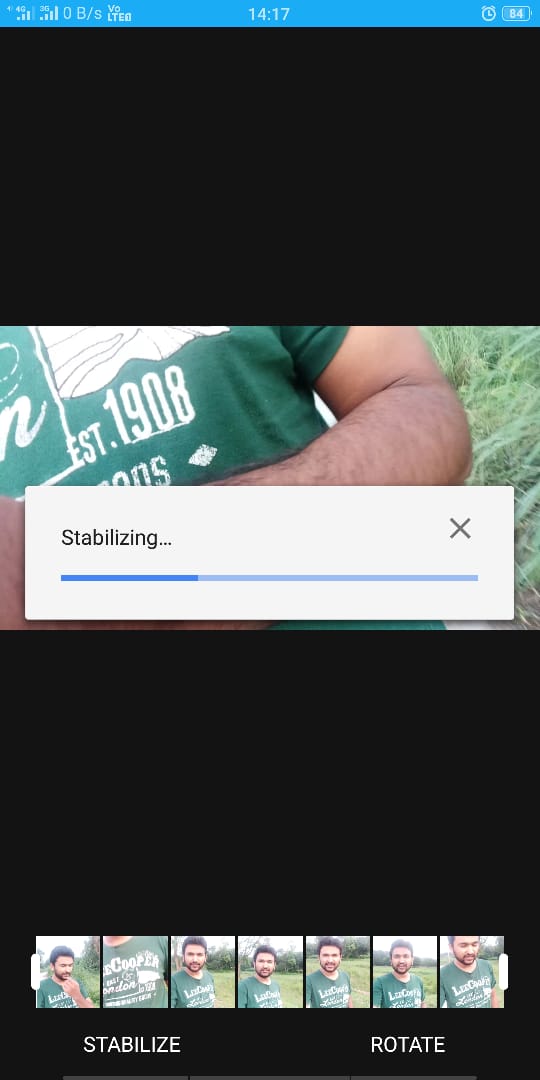
- Simply tap on ‘Stabilize’ and wait for Google photos to do the magic.
- Once the stabilization is done you can preview it, the save option will appear on the top right-hand side, so make sure you tap on it before you exit the app.
The important thing to know is that Google photos create a separate file for the stabilized video so you also have the original footage.
Google Photos also gives you the option to trim the video, you can use this to keep just that the part you want before adding it to a dedicated video editor.