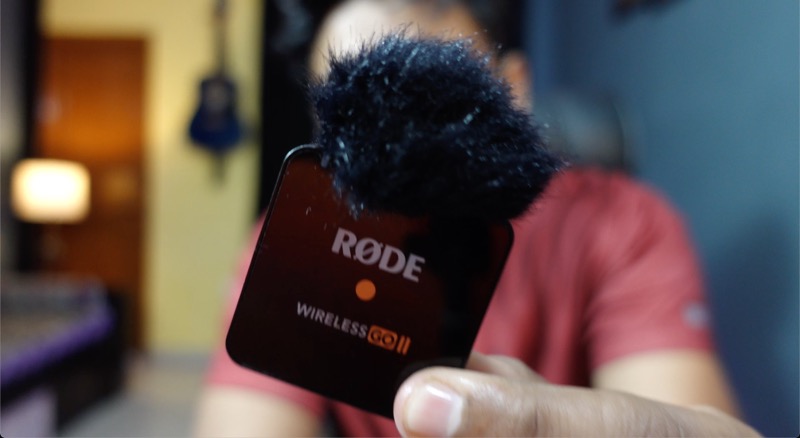
I have been using this Rode Wireless Go II Microphone for the last few months. I have used it for different purposes, from videos from my Hoem Studio to using it for Vlogs, doing Interview style videos, voiceovers and even with my iPhone and Android for vertical videos like Reels and Shorts.
So after six months, I can tell you the good and the bad about this mic.
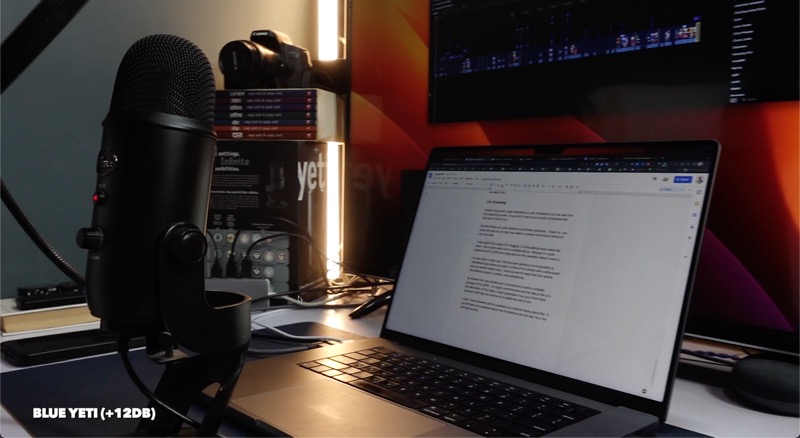
I will also compare the mic with my one, Blue Yeti, an excellent condenser mic for desktops. And I also use Boya MM1, a shotgun I have used for the last several years.
Watch the Video Review
Price and Availability of Rode Wireless Go II
I purchased the Rode Wireless Go II at around Rs 30000, and this is the version that has two transmitters, so you can use it in a Podcast setting, which means if you have two people in a video, you can put these transmitters on individuals to record, and the audio is going to be precise.
But, if you want to use it only for recording videos like this, then the single one would be fine since it will be cheaper. It is retailing at around Rs 22000 right now.

My version has two transmitters, one receiver, one TRS to TRS cable, one windshield for each of the transmitters, and three Type C to Type A cables for charging all three of them at once
Once you charge them, they can do 7 hours of recording on a single charge, and both the transmitters have also got inbuilt storage so that they can record 40 hours of audio locally, which can come in handy. More on that later in the video.
Built Quality and Features of Rode Wireless Go II
The build quality of the Rode Wireless Go II microphones is good. You can easily clip them on your shirt or t-shirt, so it doesn’t look odd, or you can attach a lav mic to the transmitters and put it in your pocket since both the transmitters have a 3.5mm audio jack for connecting mics.
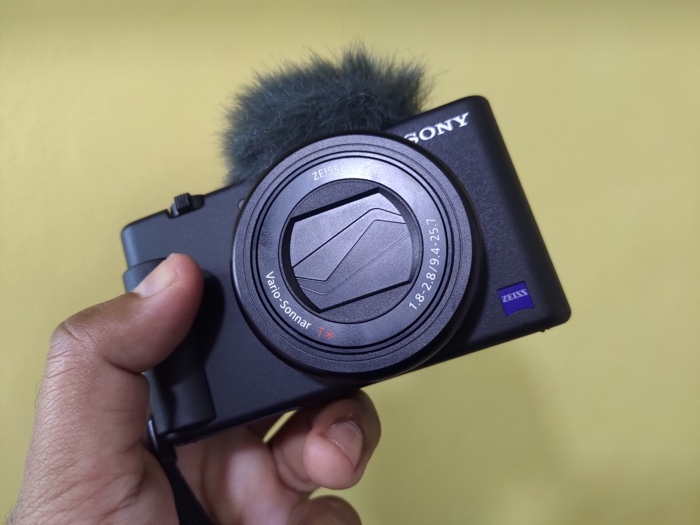
It makes the Rode Wireless Go II a versatile product since you can attach any mic to it or convert any mic into a wireless mic. I can attach it to my Boya MM1 on the boom pole and connect it wirelessly to my ZV1.
Pressing the button on the transmitters for a few seconds turns it on, and the blue LED light blinks. The receiver can also be turned on by pressing the rode button.
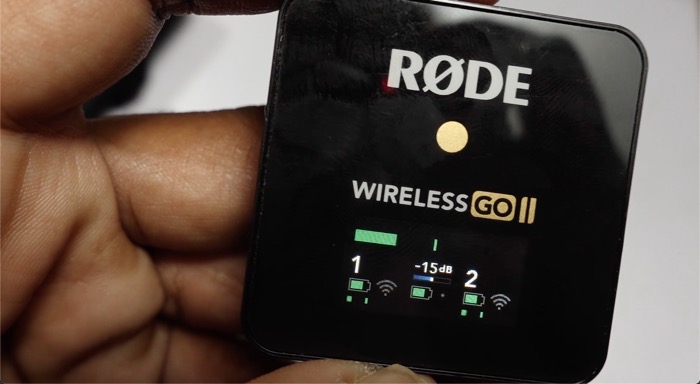
The receiver also has a small display showing connectivity start and the audio levels, which comes in handy when you have to change settings.
The pairing of transmitters and receivers is seamless and takes less than 1 second to connect once both are turned on. The second LED on the transmitters becomes stable once connected to the receiver.
The display on the receiver tells you which transmitters are connected and also shows you the battery status of the transmitters and receiver.
You can use the DB button to adjust—one press increments to -3db. And you can choose between 0db to -30db
The windshield can also be attached tightly to the transmitters using a twist mechanism, so they don’t fall off easily. And they do a great job of preventing wind when using Rode Wireless Go II outside.
Rode claims the Wireless range to be 200 meters in line of sight. You can be 200 meters away from the Camera if there’s no interference between you and the Camera. We’ll try that out in a moment.
So we talk about the transmitters recording 40 hours of compressed audio or 7 hours of uncompressed audio locally. What is it? It’s a backup mode. That can be useful when the wireless transmission is interfered with, disconnected from the receiver, or the receiver battery dies. You would have a back of the audio from your subject.
You need the Rode Central App on your computer to access the files. Connect it using the Type C cable provided in the box. And get the audio in your software that you can export in different settings.
You will find three modes, turn off / always / backup. Backup means it records when it’s disconnected.
The Rode Central App has many other features you can turn on and off for Rode Wireless Go II mice.
For example, you can use the Saftey channel for your recording so that it will generally record on one channel and at the same time do a recording at -20db, which means, if you are using it in loud environments, on a busy road where cars are honking, or at a concert where someone is screaming, and your audio is clipped, you will have the same recording at -20db as a backup you can easily use.
It’s a minor use case, but it gives you peace of mind.
Similarly, if you are using both transmitters to record two people, you have the option to record them on separate channels, so if one person has an issue with their recording, it will not affect the entire recording, as you can easily make an edit or enhance the audio individually,
But then the safety channel won’t work since both the media would record individually. But it’s easy to choose, either by using the Rode Central on PC and Mobile or pressing both buttons on the receiver for three seconds. You can switch between Separate Recordings and Merged Recordings.
Apart from that, you can change the audio gain by pressing the receiver’s button or doing it inside the Rode Central App.
While we are at it, you can also use it as a USB mic when you connect the receiver to the computer via type c.
It will do a better recording as it won’t have to deal with the camera preamps and the 3.5mm audio jack on the receiver frees up 3.5mm audio monitoring. Pretty cool, right?
Comparing it with Blue Yeti and Boya MM1
So this part of the video is getting recorded using three microphones. No post-processing is done on any audio sources to give you a clear idea of how they sound out of the box.
The Boya MM1 is on a boom pole and attached to my canon 750d.
The Blue Yeti microphone is connected to my laptop, and audio is recorded using Audacity, free software.
And the Rode Wireless Go II is connected to the ZV1 Camera.
The Blue Yeti might be the better-sounding microphone because it does not use Cameras preamps, which the Rode Wireless Go II and the Boya MM1 use.
The versatility of the Rode Wireless Go II
When it comes to the versatility of the Rode Wireless Go II, it’s impressive in several use cases. But again, it should be the first choice in all use cases, I have used it in different scenarios, and there are pros and cons about it everywhere.
Using it in a Studio environment
Using it in a closed environment where you have control over the surroundings, this microphone doesn’t add any value for being a wireless microphone.
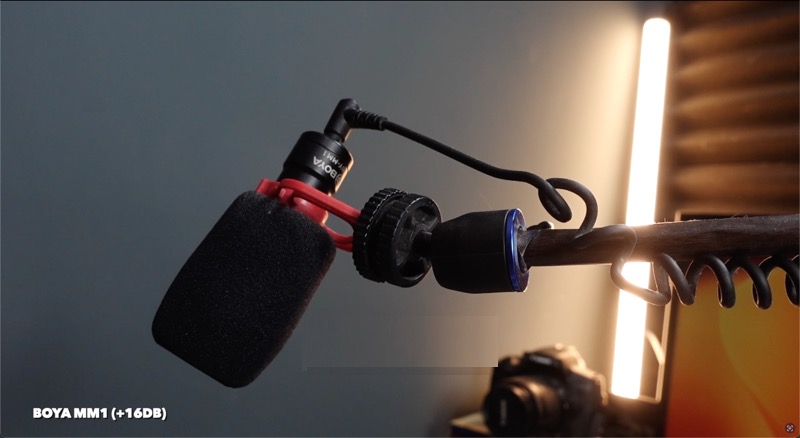
When I have to record a video like this, I prefer the microphone on the pole and attach it directly to you my Camera. I am still using a Boya MM1 which is Rs 2000 Mic. the audio quality could be better, but it is pretty good.
No batteries needed to be charged. It doesn’t even need to be turned on or off. So the best option is to have a microphone that can capture directly to your Camera if this is just the use case.
Using it for Vlogging
The same goes for vlogging, and I feel a shotgun microphone directly attached to a camera or even a mobile would be a better choice, as you won’t have to make sure that you have turned on both the receiver and the transmitter, which doesn’t take a lot of time. However, it’s still a barrier before you start recording.
Vlogging is something you do instantly; there is a moment you want to record and do it fast. So this mic has a bit of a layer to it.
You can also keep it turned on, but the battery will drain and be conscious that it only lasts around 7 hours if it is connected to the receiver.
Using it for Interviews /Podcasts
There were a few situations like this, but I have used it for interview videos, and Rode Wireless Go II was beneficial. There are no wires to worry about. Just clip the transmitter onto the person you are recording,
Tip: Using SPlit mode for two-people interviews/podcasts makes it easy to edit them individually, which is excellent for balancing the audio levels even if they are placed differently on the subjects.
Using it with Smartphone
Using it with Smartphone, you would require cable separately. For example, if you want to use it with any android mobile with a 3.5 mm audio jack, we would need a TRS to TRS cable Namibia type c adaptor if your Android doesn’t have a 3.5 mm audio jack. Mostly all the flagship mobile phones don’t have this anymore.
If you want to use it with your iPhone, you will also require lightning to 3.5 mm connector, and it needs to be MFi certified, or it won’t record. It will just be for listening to the audio.
But once you have got this thing in order, the rode go-to wireless works perfectly fine with smartphones, so if you are a mobile camera filmmaker, this can help enhance the audio quality of your videos.
I mostly use it with my phone to create wheels where I hold the transmitter in my hands and have it close to my mouth to get a deeper voice that works well.
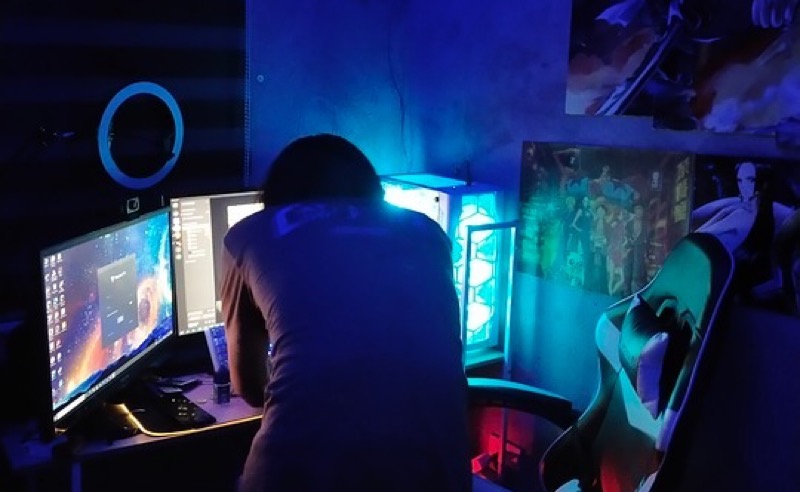
Using it with a Computer
So you can connect it to your laptop using the type c cable. For MacBook, you require a type c to type c cable, which is not provided in the box.
But once you have that, you can connect it to your computer, and your computer will pick it as a USB mic, and you can also use it for recording voiceovers. I have done that, and the audio quality is excellent.
So you have to connect the receiver to your computer and then turn on the transmitter and receiver, and you will be able to use the transmitter for doing voiceovers. You will also have the flexibility to move around if that’s what you want.
Using it for Live Streaming
Another thing is that since it gets detected as a USB microphone, you can also use it for live streaming, so you don’t need to put a bulky microphone like Blue Yeti in front of you.
So other things are variations of all these scenarios. My use cases will give you an idea of how useful or useless this product will be for your use case.
Apart from using it for Vlogging or talking head videos like these, this is quite useful and a complete set-up. Although it is pretty expensive at Rs 22000, the single also, but the versatility makes it worth it.
I’ve also seen a video type that has been gaining a lot of popularity, an educational type where you stand in front of the Camera with a whiteboard and explain a certain topic. Since you are far away from the Camera, this wireless solution is perfect and professional,
So whether the road wireless go-to microphone is quite a complete package at Rs 22000, it is highly recommended, and the best pi link is in the description of this video. I would appreciate it if you buy it from there because it will help the channel at no additional cost to you.
I have answered all the questions you must have about this. If you still have questions about this microphone, you can ask me in the comment section.