
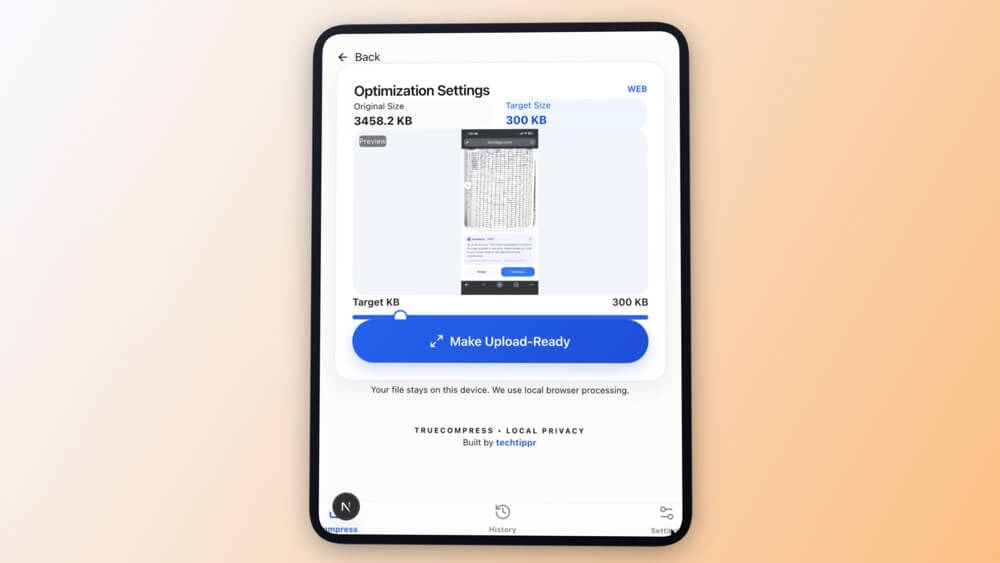
I Built My Own Photo Compressor Because Every Other Tool Was Either Slow, Ugly, or Uploaded My Files to a Server
Every popular online photo compressor either uploads your images to a remote server, forces you through an ad-heavy interface, or produces inconsistent quality. I got tired of it and built a local tool instead. Here’s what I learned, and what the actual best options are for different use cases.
Short Answer: For browser-based compression: Squoosh (Google, runs locally in-browser, excellent quality control). For bulk compression on Mac: ImageOptim (free, drag-and-drop, lossless). For command line: ffmpeg or pngcrush. The best tool depends on whether you need bulk processing, quality control, or browser convenience.
Why Photo Compression Actually Matters
Blog images that aren’t compressed slow down your pages and hurt your Core Web Vitals score, which is a direct Google ranking signal. A single unoptimised hero image can add 1–2 seconds to page load time. That’s the difference between a bounce and a read.
The target for blog images is under 200KB per image. A 1200×630px PNG straight from a design tool is typically 800KB–3MB. Getting that to under 200KB requires compression — and doing it without visible quality loss requires the right tool.
The Best Free Photo Compressors in 2026
Squoosh (Browser, by Google)
Squoosh is the best general-purpose option for most bloggers. It runs the compression entirely in your browser — nothing is uploaded to a server. You get a live before/after comparison slider as you adjust settings, and full control over quality level, format (WebP, JPEG, PNG, AVIF), and output dimensions. Free, no account required.
ImageOptim (Mac App)
If you’re on Mac and need to compress multiple images at once, ImageOptim is the fastest option. Drag a folder of images onto the app and it compresses everything losslessly. It strips metadata, optimises encoding, and reduces file size by 20–50% without any visible quality change. Free and open source.
TinyPNG / TinyJPEG
The most widely used online compressor. Simple drag-and-drop, good default quality, free for up to 20 images per batch. Uploads are sent to Tinify’s server, which is worth being aware of for sensitive content. Results are consistently good for standard blog images.
Compressor.io
Good for single images with more format options than TinyPNG. Supports JPEG, PNG, GIF, and WebP. Free tier allows one image at a time.
ffmpeg (Command Line)
For developers and technical bloggers who process images programmatically, ffmpeg handles bulk compression with precise quality control. A single command can convert a directory of PNGs to compressed JPEGs at a specified quality level. Steep learning curve but unlimited flexibility.
Recommended compression settings:
Blog featured images → JPEG, quality 82%, max 1200px wide, target <200KB. In-post screenshots → JPEG 85% or PNG lossless, max 1000px wide, target <150KB.
PNG vs JPEG vs WebP: Which to Use
- JPEG — Best for photographs and gradient-background screenshots. Smaller files, minor quality loss at 80–85% quality. Use for almost all blog images.
- PNG — Best for screenshots with sharp text, logos, and images that need transparency. Larger files but lossless. Use when sharpness matters more than size.
- WebP — 25–35% smaller than JPEG at equivalent quality. Supported by all modern browsers. Use if your CMS and CDN support it (WordPress does since 5.8).
- AVIF — Even smaller than WebP but slower to encode. Worth using for high-traffic pages where every KB counts.
WordPress-Specific Compression Notes
WordPress automatically generates multiple image sizes when you upload (thumbnail, medium, large). This means your uploaded file size multiplies across those sizes. Always compress your source image before uploading — WordPress’s built-in compression is set to 82% JPEG quality by default and doesn’t handle PNG optimisation.
For automatic compression of everything uploaded to WordPress, the Smush or ShortPixel plugins handle this in the background.
Compression in the Screenshot Workflow
If you’re beautifying screenshots for blog posts, compression is the last step in the workflow. After you’ve wrapped your screenshot in a gradient background with Mocksy or added a device frame, compress the export before uploading to WordPress. This is true for every platform: Twitter screenshots, SaaS landing pages, and blog featured images all need compressed exports.
Warning: Compressing an already-compressed JPEG causes quality degradation. Always compress from the original export, not from a previously compressed file. Keep the original export in a separate folder.
Checklist:
- ✅ Exported at correct dimensions before compression
- ✅ Format chosen: JPEG for gradients/photos, PNG for sharp text/logos
- ✅ Quality set to 82–85% for JPEG
- ✅ Output under 200KB for featured images, 150KB for in-post
- ✅ Original export saved separately
- ✅ Alt text added after upload to WordPress
Frequently Asked Questions
What’s the best free photo compressor for bloggers?
Squoosh (browser, runs locally, full quality control) for individual images. ImageOptim (Mac app) for bulk compression. TinyPNG for a simple drag-and-drop experience without installing anything.
How small should blog images be?
Featured images: under 200KB. In-post images: under 150KB. Hero images used in page builders: under 300KB. These targets balance visual quality against page load speed.
Does compressing images hurt SEO?
No — the opposite. Faster page load times (which result from smaller images) improve Core Web Vitals scores, which is a Google ranking factor. Compression helps SEO as long as the images remain visually clear.
Is it safe to upload images to online compressors?
For public content: fine. For sensitive screenshots (client data, internal dashboards, anything confidential): use a local tool like Squoosh or ImageOptim that never uploads your files.
Get the Full Screenshot Guide ↗Try Mocksy Free
Conclusion
The best photo compressor is the one that fits your workflow. Squoosh for in-browser quality control. ImageOptim for bulk Mac workflows. TinyPNG for one-click simplicity. Whichever you choose, compress every image before it hits your WordPress media library — the page speed difference is real and measurable. It’s the unglamorous final step in the professional screenshot workflow that most bloggers skip and then wonder why their pages load slowly.