
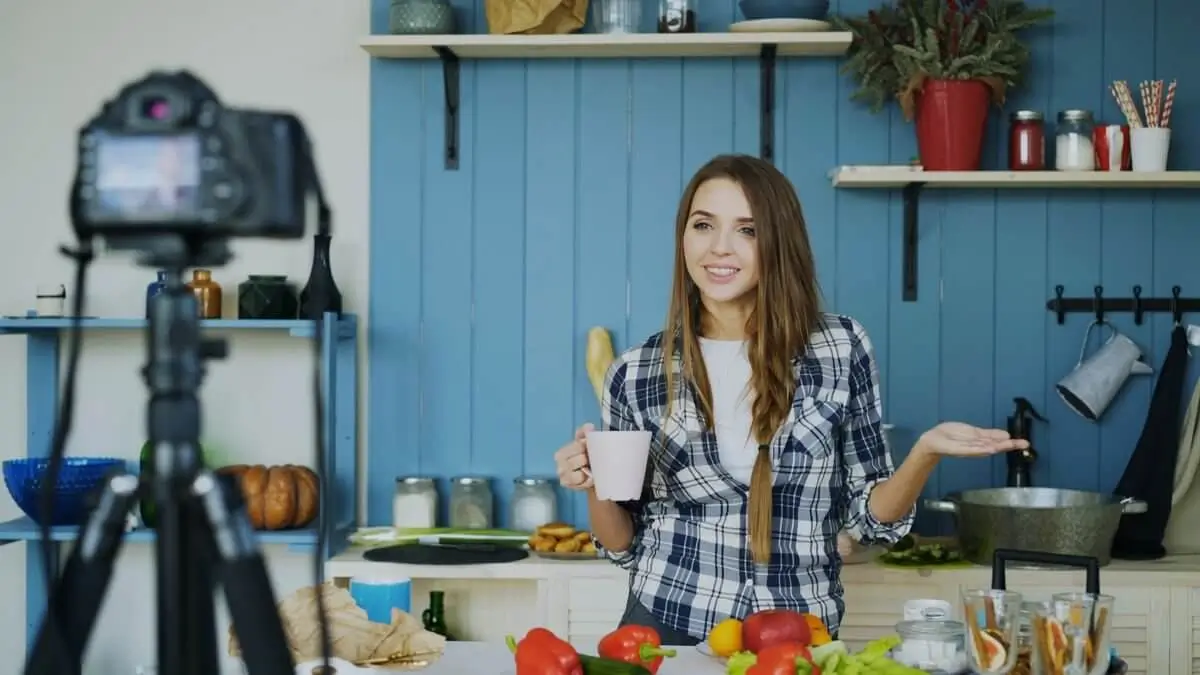
To make a video look professional with free tools, focus on five things: good lighting (face a window or use a cheap ring light), stable footage (use a tripod or brace your phone), clean audio (get the mic close and record somewhere quiet), simple editing (trim tightly, add titles and captions), and consistent colour. You don’t need expensive gear — a phone, free editing software like CapCut or DaVinci Resolve, and attention to lighting and sound produce genuinely professional results.
The gap between an amateur video and a professional-looking one usually has little to do with expensive cameras and everything to do with a handful of fundamentals that anyone can get right for free. Good lighting, steady shots, clear audio, and tight editing will make phone footage look more professional than a pricey camera used carelessly. This guide covers exactly what to focus on, using free tools and gear you likely already own, to lift your videos from homemade to polished.
Lighting: the biggest free upgrade
Lighting is the single most important factor in how professional a video looks, and it costs nothing to get right. The simplest trick is to face a window, letting soft, natural daylight fall on your face — this alone transforms footage, replacing the flat, shadowy look of bad lighting with something bright and flattering. The rule is to have your light source in front of you, not behind, since a bright window behind you turns you into a dark silhouette, one of the most common amateur mistakes.
If natural light isn’t available or reliable, an inexpensive ring light or LED panel gives you consistent, controllable lighting for a small outlay, and even a couple of ordinary lamps positioned in front of you help enormously. The goal is soft, even light on your subject without harsh shadows. Getting lighting right does more for perceived quality than upgrading your camera would, which is why professionals obsess over it — and why it is the first thing you should fix.
The most common lighting mistake is sitting with a window or lamp behind you, which makes you a dark silhouette. Turn around so the light faces you, and your footage instantly looks more professional — for free.
Keep it steady
Shaky footage screams amateur, while stable shots look controlled and professional, so steadiness is the next priority. A cheap phone tripod is the easiest solution and endlessly useful, but if you don’t have one, bracing your phone against a stack of books, a shelf, or anything solid works in a pinch. The key is that your camera shouldn’t wobble; a locked-off, stable shot immediately reads as more considered and polished than handheld footage that drifts and shakes.
If you do need to move the camera or film handheld, most free editing apps include stabilisation that smooths out minor shake after the fact, and modern phones have built-in stabilisation that helps while filming. But nothing beats a genuinely stable shot to begin with. For talking-to-camera videos, tutorials, and most content, simply putting your phone on a tripod or a stable surface and leaving it there is one of the easiest ways to look more professional.
Audio matters as much as video
Viewers forgive imperfect video far more readily than bad audio, so clean sound is essential to a professional feel. The most important factor is distance: get your microphone as close to the speaker as practical, because a mic close to your mouth captures clear voice and less room echo. Recording in a quiet space, away from traffic, fans, and echoey empty rooms, makes a bigger difference than any expensive microphone used in a noisy environment.
Your phone’s built-in mic can sound fine up close in a quiet room, but an inexpensive clip-on lavalier microphone is a cheap upgrade that dramatically improves voice clarity for talking-head videos. Soft furnishings — carpets, curtains, cushions — reduce echo in a room, so filming in a furnished space sounds better than a bare, hard-surfaced one. Prioritising clean, close, quiet audio is one of the surest ways to make a video feel professionally produced.
| Element | Free / cheap fix | Impact |
|---|---|---|
| Lighting | Face a window or use a lamp | Huge |
| Stability | Tripod or brace the phone | High |
| Audio | Mic close, quiet room | Huge |
| Editing | Trim tight, add titles/captions | High |
Edit tightly and add polish
Editing is where good footage becomes a professional video, and free tools like CapCut, DaVinci Resolve, iMovie, and Clipchamp are more than capable. The most important editing principle is to trim tightly: cut out pauses, mistakes, and dead air so the video moves at a good pace, since nothing makes content feel amateur like long, slow gaps. A well-paced edit keeps viewers watching and immediately feels more professional than raw, untrimmed footage.
Beyond trimming, a few touches add polish: a clean title at the start, on-screen captions so people can follow on mute, and simple, consistent text for any labels or callouts. Keep effects and transitions restrained, since overusing flashy transitions actually looks less professional, not more. A tight edit with clean titles and captions, using entirely free software, is what ties good lighting, stable shots, and clear audio into a finished video that looks genuinely produced.
Consistency and colour
A final layer of professionalism comes from consistency. Keeping your lighting, framing, and style similar from video to video builds a recognisable look that feels intentional and branded rather than random. Even simple choices — filming in the same spot with the same setup, using the same title font and caption style — make a body of work feel cohesive and professional, which matters as much as any single video looking good.
Colour is the finishing touch. Free editors let you make basic colour adjustments — correcting white balance so colours look natural, and nudging brightness and contrast for a clean, consistent image. You don’t need advanced colour grading; simply making sure your footage isn’t too dark, too blue, or washed out lifts it noticeably. Applied consistently across your videos, these small colour tweaks give your content a polished, unified feel that signals care and professionalism.
A consistent, decent look across all your videos reads as more professional than one perfect video among rough ones. Lock in a simple setup — same spot, lighting, titles, and captions — and repeat it. Reliability is what makes content feel produced.
FAQ
Do I need an expensive camera to look professional?
No. A modern phone with good lighting, stable framing, and clean audio looks more professional than a costly camera used carelessly. Lighting and sound matter far more than the camera itself.
What’s the most important thing to get right?
Lighting, closely followed by audio. Facing a soft light source and capturing clear, close, quiet sound do more for professional quality than any gear upgrade. Both are free or cheap to fix.
What free editing software should I use?
CapCut is great for quick social videos, DaVinci Resolve is a powerful free option for more involved edits, and iMovie or Clipchamp are simple and built-in. All are free and capable of professional results.
How do I stop my videos looking shaky?
Use a tripod or brace your phone on a stable surface, and enable stabilisation in your editing app or phone camera. A locked-off, steady shot instantly looks more professional than handheld footage.
Simple gear that’s worth the small cost
While the fundamentals are free, a handful of inexpensive items deliver outsized improvements if you make videos regularly. A basic phone tripod is the best first purchase, giving you stable, repeatable shots for very little money. A clip-on lavalier microphone dramatically improves voice clarity for talking-head videos, often for the price of a couple of coffees. And a small LED or ring light provides consistent lighting when natural light isn’t reliable, freeing you from filming only near a window during daylight.
None of these is essential — you can make genuinely good videos with just a phone and good technique — but each removes a common limitation for a small outlay. If you’re committed to making videos and want to level up beyond what free fundamentals alone provide, this trio of tripod, microphone, and light is where modest money goes furthest. Buy them gradually as you feel the need rather than all at once, and you’ll have a capable, affordable setup that punches well above its cost.
The Bottom Line
Professional-looking video comes from fundamentals, not expensive gear. Face a soft light source, keep your camera steady on a tripod or surface, get your microphone close in a quiet room, and edit tightly with clean titles and captions using free software. Add consistent framing and basic colour correction, and phone footage will look genuinely polished. Master these free basics — lighting, stability, audio, and editing — and your videos will stand out, no costly camera required.