
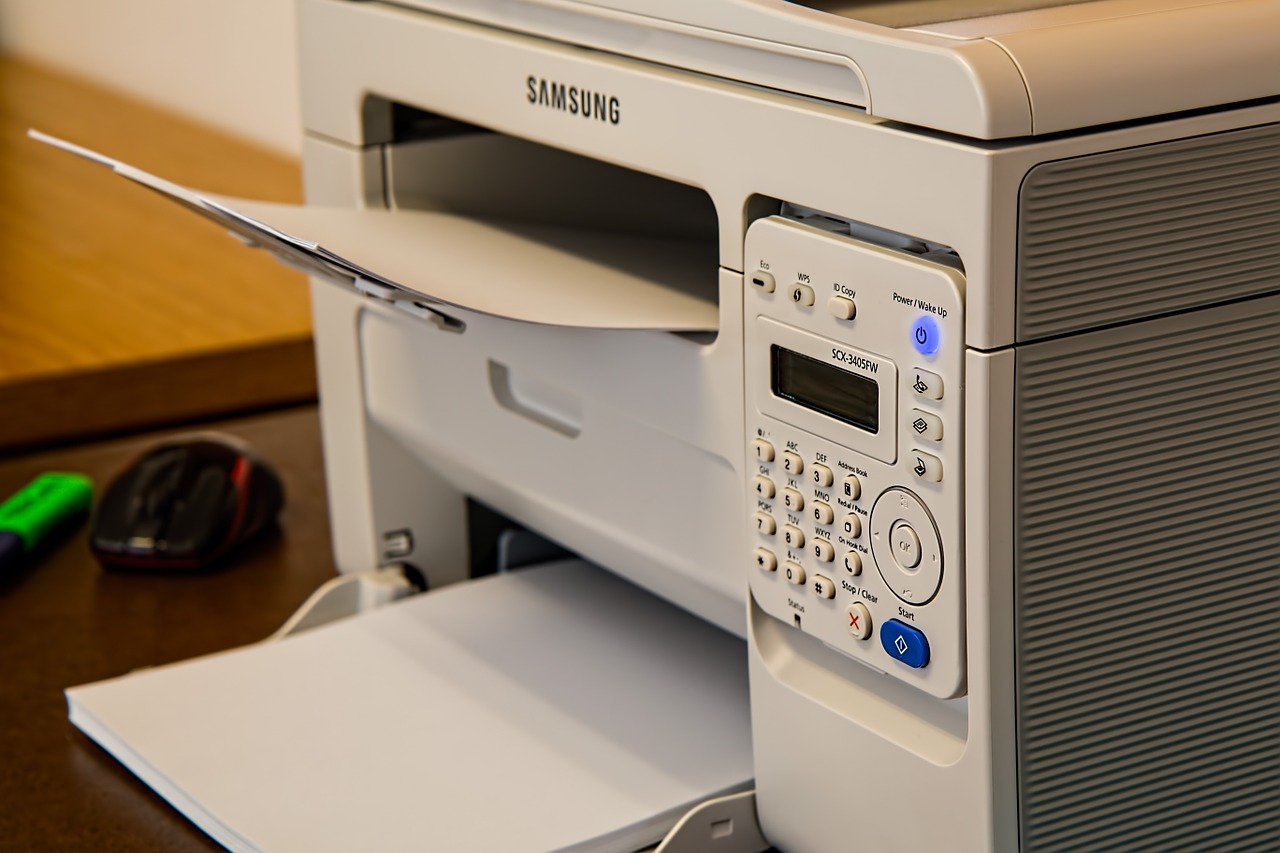
Setting up a printer on Windows is straightforward — usually. When it goes wrong, it’s because Windows picks the wrong driver or misses the printer on the network. Here’s the full guide, including the common fixes.
Short Answer: For USB printers: plug in and Windows installs the driver automatically. For Wi-Fi printers: connect the printer to your Wi-Fi first (using its control panel), then add it in Windows Settings → Bluetooth & devices → Add a device. If Windows can’t find it, use the manufacturer’s software instead.
Method 1: USB Printer (Plug and Play)
- Connect the printer to your PC using a USB cable
- Turn the printer on
- Windows automatically detects it and installs the basic driver
- A notification appears in the taskbar when it’s ready
To verify: go to Settings → Bluetooth & devices → Printers & scanners — your printer should appear in the list.
📸 SCREENSHOT NEEDED: Windows Settings Printers & scanners page showing an installed printer in the device list
Method 2: Wi-Fi Printer Setup
Wi-Fi printers need to be connected to your network before Windows can find them. The most common mistake is trying to add the printer to Windows before completing the Wi-Fi setup on the printer itself.
Step 1: Connect the printer to Wi-Fi
Use the printer’s own touchscreen or buttons. Most printers have a Wireless Setup Wizard in the menu. You’ll select your Wi-Fi network and enter the password directly on the printer. Refer to your printer’s manual for the exact steps — HP, Canon, and Epson all do this slightly differently.
📸 SCREENSHOT NEEDED: Printer control panel showing Wi-Fi setup wizard with network selection screen
Step 2: Add the printer in Windows
- Go to Settings → Bluetooth & devices → Printers & scanners
- Click Add a printer or scanner
- Wait while Windows searches — your printer should appear
- Click the printer name and then Add device
Wi-Fi printer quick setup:
Connect printer to Wi-Fi via printer menu → Windows Settings → Bluetooth & devices → Printers & scanners → Add a printer or scanner
Method 3: Use Manufacturer Software (Most Reliable)
Windows’ built-in detection works for most printers, but the manufacturer’s own installation software is more reliable and installs additional features like scan, fax, and ink level monitoring:
- HP: Download HP Smart (free from Microsoft Store or hp.com)
- Canon: Download from canon.com → support → your printer model → software
- Epson: Use Epson Connect or download the full driver from epson.com
- Brother: Use Brother iPrint&Scan from the Microsoft Store
Run the manufacturer software and follow the guided setup — it handles the Wi-Fi configuration and driver installation in one process.
Common Problems and Fixes
Printer not found on network
Make sure the printer and PC are on the same Wi-Fi network (not one on 2.4 GHz and the other on 5 GHz with different names). Restart the printer, router, and PC. If still not found, try adding the printer by IP address: Settings → Printers & scanners → Add → select “The printer that I want isn’t listed” → “Add a printer using a TCP/IP address.”
Printer shows “Offline” even though it’s on
- Right-click the printer in Printers & scanners → See what’s printing
- Click Printer in the menu bar
- If “Use Printer Offline” is checked, uncheck it
- Also check that the Print Spooler service is running: press Win+R → type
services.msc→ find Print Spooler → right-click → Restart
Print quality issues after setup
Download and install the full driver package from the manufacturer’s website — Windows’ generic driver often lacks quality optimisation settings. The full driver also gives you access to the printer’s utility tools for cleaning print heads and checking ink levels.
Warning: Avoid downloading printer drivers from third-party sites. Only download from the manufacturer’s official website (hp.com, canon.com, epson.com, brother.com) to avoid bundled software and potential security risks.
Quick checklist:
- ✅ Connected printer to Wi-Fi via the printer’s own setup menu before trying to add in Windows
- ✅ Added printer in Settings → Bluetooth & devices → Printers & scanners
- ✅ Installed manufacturer’s full driver/software for best functionality
- ✅ Set as default printer: right-click printer → Set as default printer
Frequently Asked Questions
How do I set a default printer in Windows?
Go to Settings → Bluetooth & devices → Printers & scanners, click the printer you want, then click Set as default. Alternatively, right-click the printer icon in the Printers & scanners list.
Why does Windows keep changing my default printer?
Windows has a setting that automatically sets the most recently used printer as default. Disable it: Settings → Bluetooth & devices → Printers & scanners → scroll down to “Let Windows manage my default printer” → turn it Off.
How do I print a test page to check the printer is working?
Settings → Bluetooth & devices → Printers & scanners → click your printer → Printer properties → Print Test Page (in the General tab).
Can I print from my phone to a Windows-connected printer?
Yes. Most modern printers support wireless printing directly from Android (via Google Cloud Print or Mopria) and iPhone (via AirPrint). Your phone needs to be on the same Wi-Fi network as the printer.
Conclusion
For USB printers, plug-and-play works reliably. For Wi-Fi printers, connecting the printer to your network first (before touching Windows settings) prevents most problems. When in doubt, use the manufacturer’s own software — it’s more reliable than Windows’ built-in detection for network printers.
For more Windows tips, see our guides on Windows tips and tricks and the best free Windows software.
More Windows Tips ↗ ↗Free Windows Software