Although I have already written plenty of things about Snagit app, which is my favourite tool for creating screenshots for tutorials on my blog, here is a quick comparison of the Snagit versus The native screenshot feature on Mac and PC.
I hope this will give you a fair understanding whether or not you would benefit from Snagit or whether or not you should invest your money in buying the Snagit app if you can achieve what you are looking for with the native screenshot feature on Mac and PC.
First, let’s talk about how to take a screenshot on a Mac and a PC
Native screenshot feature on Mac
In Mac, you can either take the screenshot of the entire screen or take a screenshot of a selected portion of your screen.
Take a screenshot of the entire screen
- Press Shift-Command (⌘)-3. (you’ll hear a camera shutter button sound)
- Find the screenshot as a .png file on your desktop.
Take a screenshot of a selected portion
- Press Shift-Command-4. The pointer changes to a crosshair.
- Move the crosshair to where you want to start the screenshot, then drag to select an area.
- While dragging, you can hold Shift, Option, or Space bar to change the way the selection moves
- When you’ve selected the area you want, release your mouse or trackpad button. To cancel, press the Esc (Escape) key before you release the button.
- Find the screenshot as a .png file on your desktop.
Take a screenshot of a window
- Press Shift-Command-4. The pointer changes to a crosshair.
- Press the Space bar. The pointer changes to a camera.
- Move the camera over a window to highlight it.
- Click your mouse or trackpad. To cancel, press the Esc (Escape) key before you click.
- Find the screenshot as a .png file on your desktop.
Native screenshot feature on PC
You can take the screenshot using the Print Screen key on your keyboard that resides on the top right-hand side.
In most laptops, it works in a combination of Function Keys (fn), So, you will have to press fn+ Print Scr to capture the entire screen.
Then open Paint and press Ctrl + v on your keyboard, this will paste the captured screen on the canvas inside the paint app.
You can then make any edits you want, like cropping a particular area, doodling over the screenshot and then You can then save it on your PC.
If you are going to email the image or post it online, you should save it in .jpeg format instead of .png format because the size of your image will be small and it will quickly get uploaded if you have a slow connection.
Taking screenshots on both Mac and PC is not tough; you can learn the keyboard shortcuts mentioned above and create screenshots pretty easily.
You won’t specifically need a third-party app like Snagit just for taking screenshots, if you have already invested in a photo editing app, such as Photoshop, or even free photo editors such as GIMP.
Even if you do not have God Photoshop or GIMP, you can still use free image editing web apps, like imageonline.co, pixlr.com/editor etc.
Taking Screenshots using Snagit
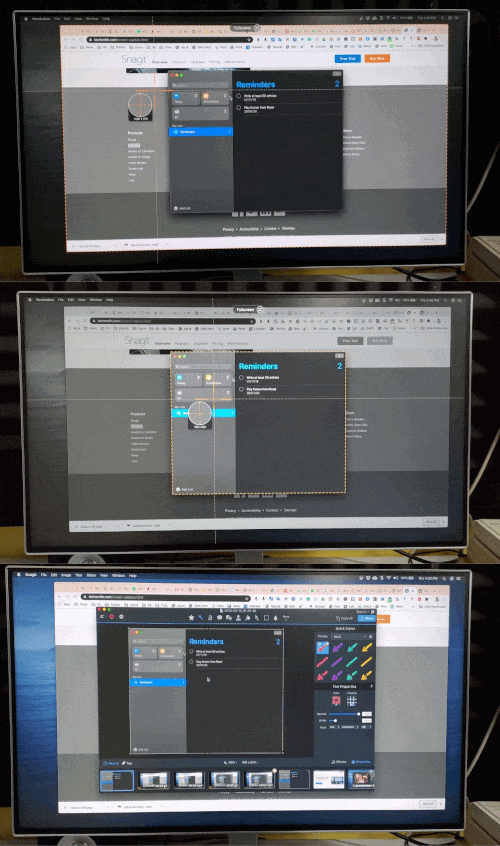
Navigate as it is available off for both PC and Mac give few different ways to take screenshots, and since it visually shows you which portion you want to travel from your computer screen, it makes it easy to take the screenshot which speeds up the process.

Apart from using the keyboard shortcut, which is the easiest way, you can also use the icon in the Quick Launch bar, or merely the capture button in the Snagit app to capture a screenshot.
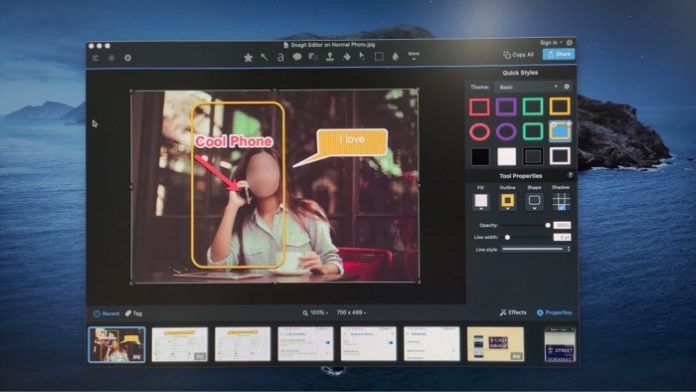
The best part of using screen Snagit for taking a screenshot is that it automatically opens the screenshot in the Snagit editor which is a multi-purpose image editor.
You don’t have to go and look for the screenshot and then import it into your image editor to start working on it, so it reduces multiple steps between taking the screenshot and editing it.
And since Snagit is designed explicitly for creating screenshots does negative, there have all the tools which help you in hands your screenshots to make them look professional. There are a variety of use cases where you can benefit from Snagit. Taking a screenshot is just part of the workflow.
You can use the screenshot and customise it for your PowerPoint presentation for web tutorials, by using arrows, shapes, dialogue boxes, numbers, and much more.
Apart from that it also can be used as a told to resize photos compress photos do small manipulations add text to them, about all the features in detail in this dedicated article, about Snagit by techsmith.
So, if you are someone, who spends their day job in front of a computer, and has to work with a lot of screenshots or images, and your work ranges from social media management to providing technical support, Snagit can enhance your productivity.
The individual licence costs just $49, but you can also Downloads Snagit Free as it offers one-month free trial without any limitations.


