Instagram Reels present a massive opportunity to create viral content that spreads across the platform.
As an Adobe Premiere Pro user, you can utilize powerful editing tools to recreate and customize popular Reels tailored for your brand and audience.
How to do it?
The idea is simple. Find a trending Instagram Reels video that is doing well. Download it if you need help – check my article on downloading Reels.
Save the Reel on your computer. Bring it into Adobe Premiere Pro to edit.
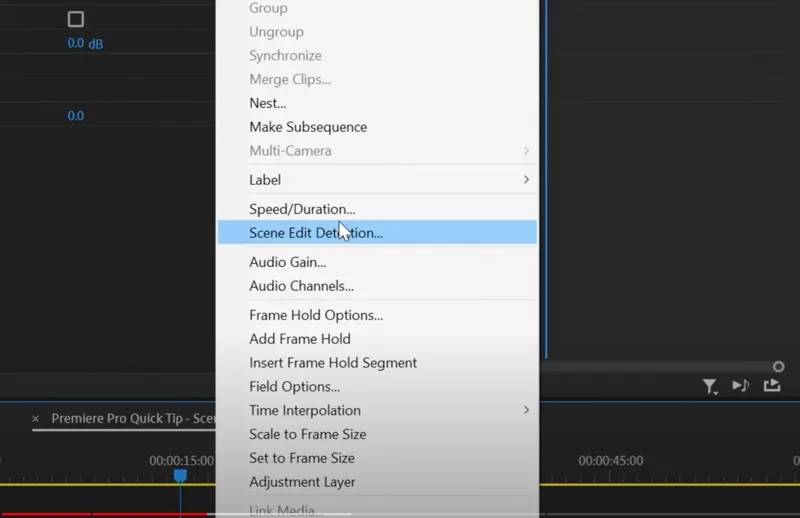
Use the Adobe Premiere Pro’s scene edit detection feature. It detects where frames change, like cuts in the video. It adds markers at each cut or frame change
.
Bring your clip in and adjust your edit to the markers. They show where to place your cuts.
Once it’s setup, enhance your video by color grading or adding transitions.
Export your edited video when complete. Then post it on Instagram Reels to ride the trend.
Read on for more details on each step. I’ve discussed this process more in-depth below.
Finding Trending Reels to Analyze
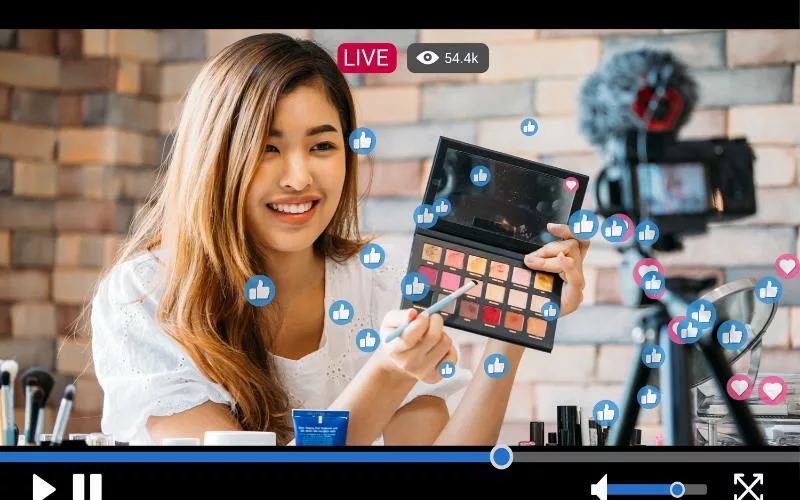
The first step is identifying what types of Reels perform well in your niche. Spend time browsing hashtags and creators relevant to your content focus.
Make note of Reels with high view counts and engagement. Watch for common trends and formats that grab attention.
Analyze the pacing, transitions, effects, text and graphics, music choices, and other elements of viral Reels.
Breaking down these details will help you recreate what works. Some current popular formulas include meme/joke videos, challenge/trend videos, green screen/duet videos, and more.
Downloading and Importing into Premiere

Once you spot viral Reels with high potential, download them to your computer. Instagram doesn’t allow video downloads with music, so you should check how you can download it.
Import the video file into your Premiere Pro project. Ideally, place it on a track above your working clips so you can easily refer to it.
Using Scene Edit Detection
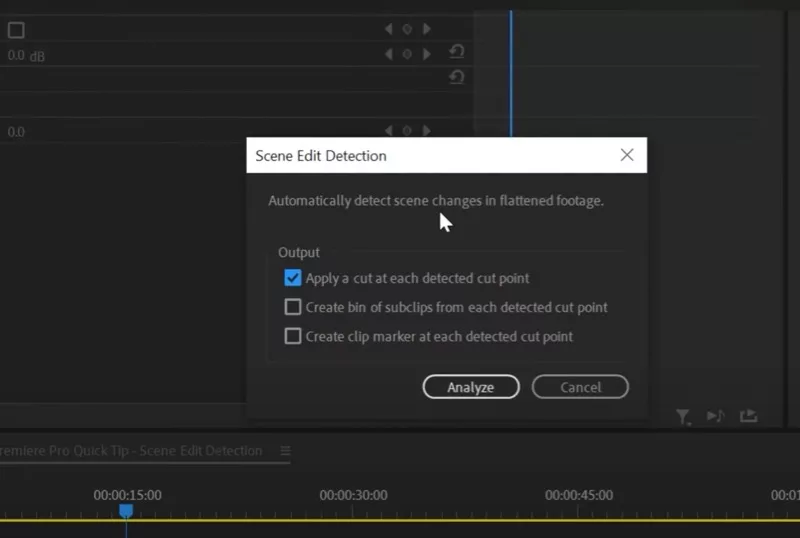
Here’s where Premiere Pro’s editing intelligence comes in handy. The Scene Edit Detection feature automatically scans a clip and adds cuts precisely where transitions and edits occur.
To use it, simply right click your imported viral Reel file in the timeline. Select “Scene Edit Detection” and let Premiere analyze the clip. Within seconds, it will add a multitude of cuts, matching the original edit points. for a two 90 second video, it took about 15 seconds, but it depends on how many cuts there are in the video and also the length of the video.
Replacing Footage for a Customized Recreation
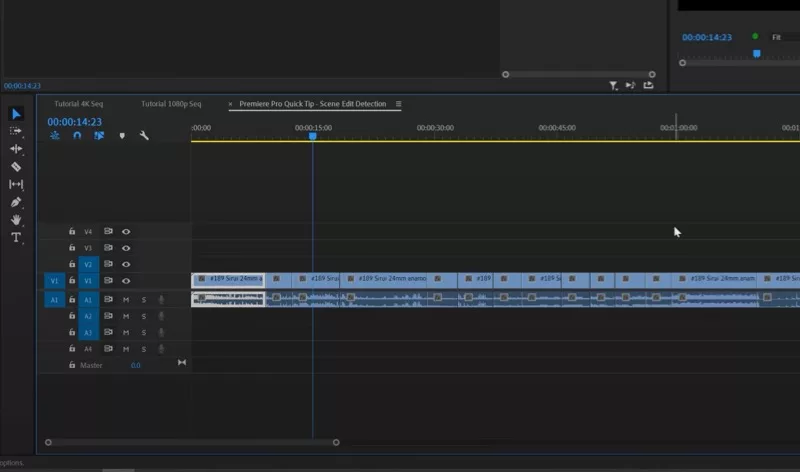
Now comes the creative part. With the viral Reel’s edit points in place, you can easily swap in your own footage.
Delete or disable the viral clip, then drag your clips into the timeline. The pace and order of the edits will be mapped out, making recreating the flow effortless.
Trim and arrange your clips to perfectly fit the edit points. Reuse any graphics or visual elements from the original for consistency. Maintain the same intro and outro length.
Adding Custom Stylization
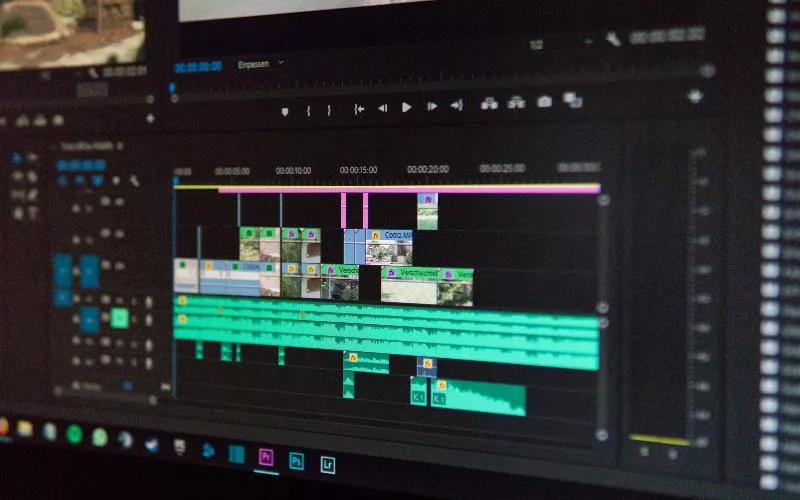
To make your version truly unique, take the time to stylize it further. Add transitions between clips and play with speed adjustments. Layer in animated text, graphics, and stickers using Essential Graphics.
Apply color correction adjustments for a specific tone or look. Use keyframes to animate movement and scale. Add stylish video effects like glitch or VHS effects using Premiere’s built-in presets. Want to capture great videos from your mobile? Check out Mobile Filmmaking.
Exporting for Upload to Instagram

After finalizing your recreate, export it out of Premiere Pro. For Instagram Reels, h.264 video codec at 1080×1920 resolution is recommended. For maximum video quality, export at a high bitrate around 8,000-10,000 Kbps.
The finished file can now be uploaded directly into Instagram as a new Reel, ready to be shared across the platform. Check how to upload videos on Instagram in the highest quality.
Also, if you use WhatsApp, here’s how you can post high quality WhatsApp Status.


