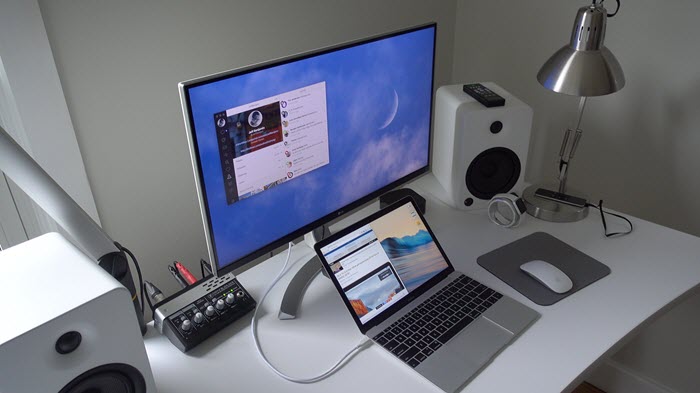
I’ve recently moved to a dual monitor setup with a single monitor, I love the space I get to work on, I just feel I get more productive.
But I still do the majority of my work on my Macbook Air, I use it whenever I am not in my Home office.
And sometimes there is plenty of work that’s pending. In order to make it complete I can either move it to my Desktop )with dual monitors setup) or I can directly connect my MacBook Air to one of the new monitors I got.
And I chose the latter because it is more convenient to finish the work on the same computer where it was started.
Firstly, when I connected my Macbook Air to my 23 inch Monitor, I faced an issue, which was different from this one, you can read about it here if you too faced the problem where you don’t get to choose the best resolution for your external Monitor.
Moving the point of this post, the black Borders on the Monitor.
When I fixed the first issue of getting the perfect resolution, I was welcomed by another one, and that is, Thick Black Borders across the External Monitor Display.
It was still 1920×1080, but wasn;t using the entire screen of the 24-inch monitor. After searching for solutions for several hours, I found a thread which could actually solve the problem.
I was connected my MacBook Air to the external Monitor via VGA cable and used a Thunderbolt to VGA adapter. The thread talked about people having issues with the VGA Cable. So, here was the solution.
Connect Macbook Air to External Monitor via HDMI Cable

Buy from Amazon.com | Buy from Amazon.in
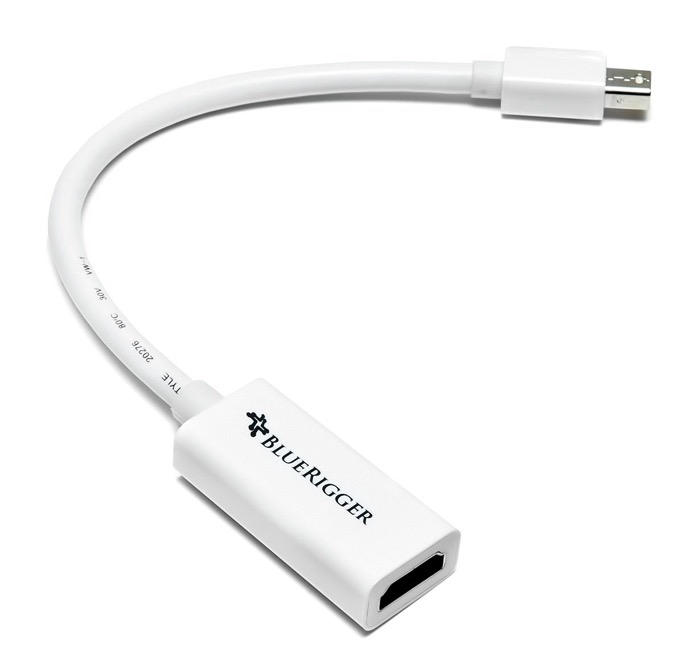
I bought a Thunderbolt to HDMI adapter and used HDMI Cable to connect the Macbook Air and the External Monitor. I still had to use the trick of getting the perfect resolution and bingo, it worked. The entire screen was showing the Mac OS goodness in 1080 resolution.
So, if you too are facing the issue, try the above solution by using a different display cable type. If HDMI is not working, then try VGA cable. Or if something else worked for you, please share it in the comment section.

