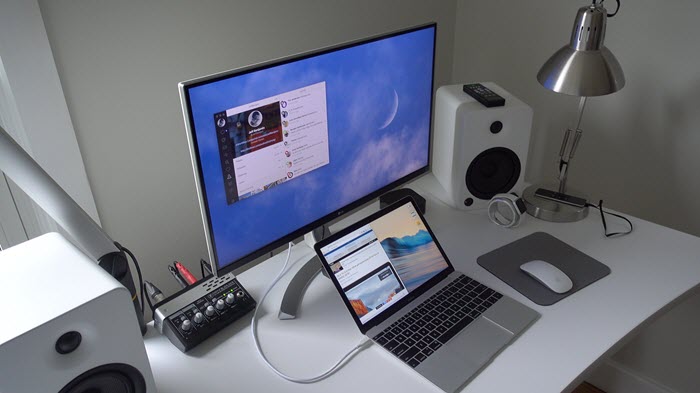
I’ve recently switched from a single monitor setup to a dual monitor setup. Even though it’s been just a few weeks, I can tell how efficient it is to work on a dual monitor setup.
More screen lets you do more, and this is why I sometimes connect my Macbook Air to the new 24inch monitor and finish up the pending stuff I have on it. It’s super convenient.
Now let’s talk about the very point of the existence of this post, how to make the Macbook Air display the best resolution for the external monitor.
My Monitor has a native resolution of 1920×1080, but, when I first connected my Macbook Air to the Monitor, I found it really annoying to get only two resolution to select from, and none of it was 1920×1080.
I spent the entire day to figure out what is there that I am not doing, but I found that this is a pretty common problem. Yet no solution was available anywhere, After hours of research, I did find the solution in a very long thread of a forum.
And here it is,
When you connect your external Monitor to your Macbook Air And go to Display Settings from the System Preference, you have to press the ‘Alt or Option‘ key and you will get more resolution options to choose from.
I got the 1920×1080 option and the monitor started displaying a crisp extended desktop for my Macbook Air.
However, this is not the only problem you are going to face if you decide to connect your Macbook Air to an external Monitor.
I’ve written about this issue in another post since it is entirely a different issue and might or might not occur to you depending on how you choose to connect your Macbook to the external Monitor, i.e, the Display Cable you will use.

