
On your Mac’s hard drive lives a hidden world of behind-the-scenes files that keep your computer functioning properly. While accessing these hidden Mac files can be useful in certain situations, they are generally best left undisturbed.
Watch the Video
What Are Hidden Files on a Mac?
Hidden files are system files, configuration files, logs, caches, and other data that macOS hides from view in the Finder interface. Examples include:
- .DS_Store – Tracks custom folder views
- .TemporaryItems – Stores temporary files
- .Trashes – Stores deleted files before emptying trash
- .Spotlight-V100 – Spotlight index and search data
Hidden files handle critical background processes but aren’t necessary for daily use. Apple tucks them out of sight to prevent accidental deletion or changes that could cause stability issues. If you are looking to hide a particular file on your mac, check out this section.
When Would You Need to View Hidden Files?
In most cases, hidden files don’t need to be accessed. However, there are instances where seeing hidden files can be beneficial:
- Diagnosing performance problems or app crashes
- Identifying malware or unauthorized changes
- Recovering unsaved documents
- Clearing caches to reclaim space
- Gaining insight for advanced customization
Accessing hidden files should only be done with caution and if you understand their purpose.
How to View Hidden Files on Mac
- Use Finder – Press Command+Shift+(.) period to toggle hidden files on/off.
- Use Terminal – Run the command:
defaults write com.apple.Finder AppleShowAllFiles TRUE
(to make changes appear in Finder, type this in Terminal – killall Finder) - Use third-party software like Funter – This gives you a simple on/off toggle for hidden files.
To re-hide files, simply reverse the Terminal command or toggle the visibility off again in Finder or your preferred app.
Let’s discuss all these three methods in detail
Use Finder
The easiest method to locate concealed files on your Mac is by using Finder. Follow these steps:
- Click on the Finder icon in your dock to launch Finder.
- Open Mac Finder to begin uncovering hidden files on your Mac.
- Navigate to the desired folder where you wish to find hidden files.
- Press Command + Shift + . (the period key) to reveal hidden files within the folder.
To hide the files again, simply press Command + Shift + . again.
Additionally, you can display hidden Mac files on your desktop by clicking it and pressing Command + Shift + ..
Use Terminal
This method of using the Terminal app to view hidden files on your Mac computer is a little technical but faster. Let’s look at the steps in involved in achieving our goal.
The Terminal app allows you to directly input commands into your Mac’s operating system, thereby altering its functionality.
To use Terminal for revealing hidden files, follow these steps:
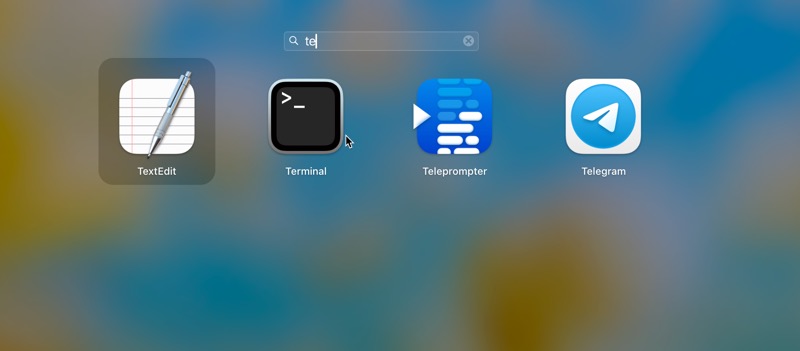
Launch the Terminal app from Spotlight or from the Launchpad by doing a four finger squeeze in gesture, and then using the search box to search for the terminal app.
Once the terminal app is opened type the following script.
defaults write com.apple.Finder AppleShowAllFiles TRUE
killall Finder
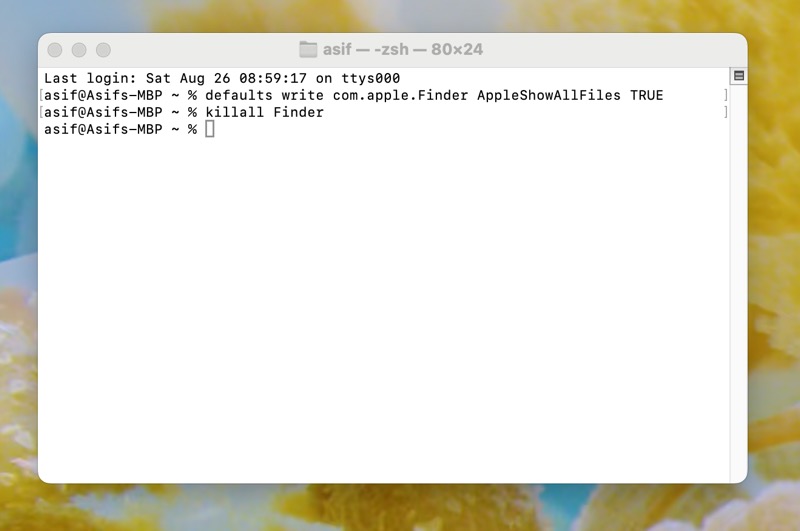
The first command will make the finder app unhide all the hidden files on your mac. And the second command will refresh the Finder app making the changes.
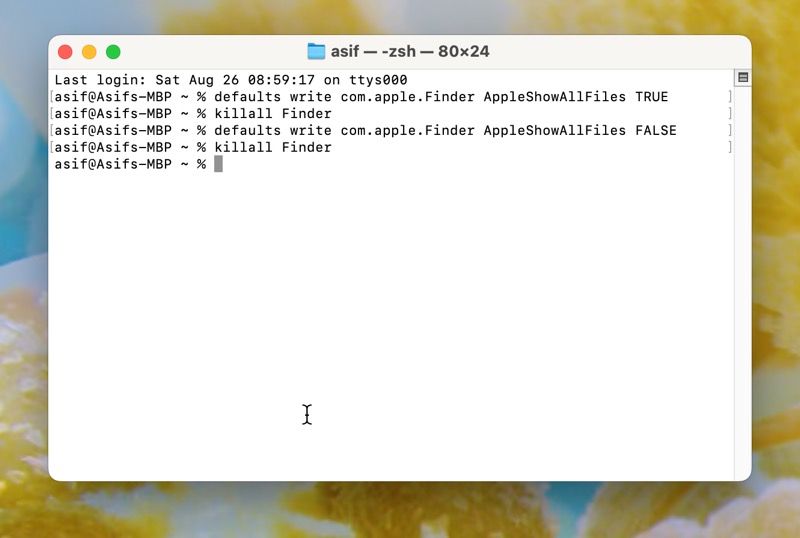
To revert the changes, or to not view the hidden the files again, type the same command and change TRUE, to FALSE.
Use third-party Apps
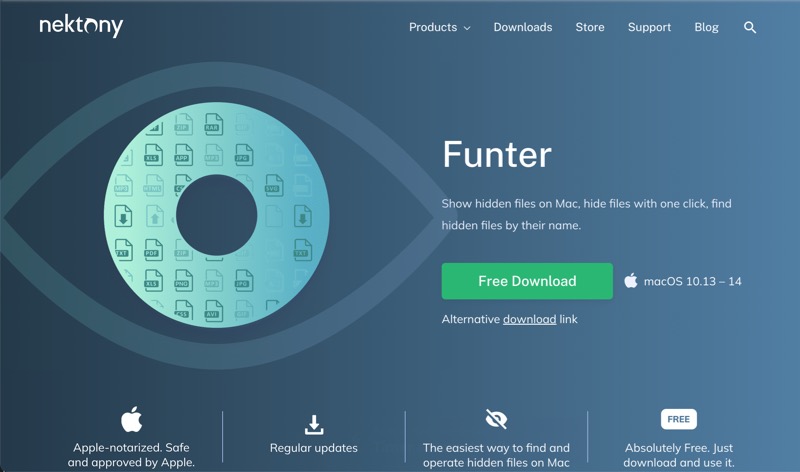
If you want you can also use third party apps like Flunter to view the hidden files on your mac computer. These apps will give you easy toggle button to enable and disable viewing hidden files.
But my personal recommendation would be the first method which I think is the easiest of all and does not required you to install anything extra on your computer or even memorize any command.
How to hide any file on a mac computer
Now let’s see how to hide a file on your mac computer. The process does not require you to install anything on your computer or memorize any command.
You just have to rename the file by adding a dot (.) at the beginning of the file name. Here are the steps involved.
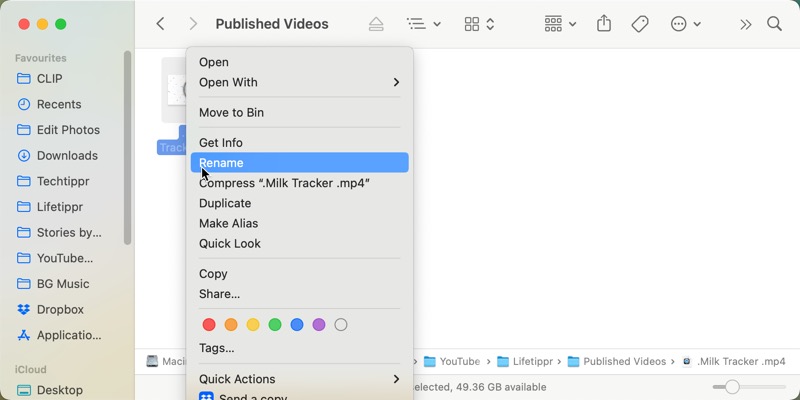
- Select the file you want to hide.
- Right click and select ‘Rename’ from the options
- Add a dot (.) at the beginning of the name and press Enter.
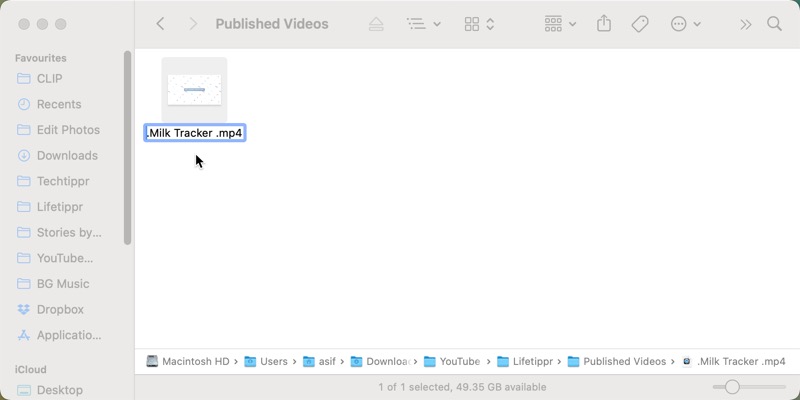
This will hide the file, to view and unview the hidden files you can follow any of the three methods mentioned above.
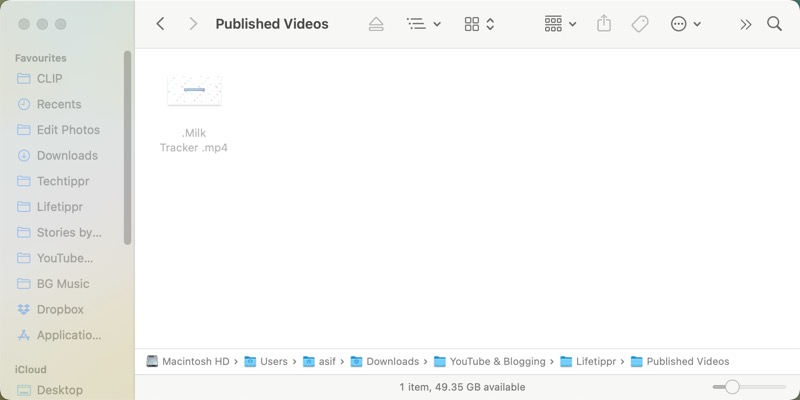
Once the file is hidden using the method above, and the option to view hidden files is enabled, you will be able to view the hidden file but it will be little faded. Its actually a clever way to hide your files from other people who have access to the computer.
Keep in mind hiding files like this does not guarantee other people will not be able to access it because the methods mentioned will reveal all the hell finds on the computer.
Reasons to Avoid Tampering with Hidden Files
Since hidden files are integral to system functions, it’s best to avoid modifying them unless absolutely necessary. Dangers include:
- Deleting important system files that render macOS unstable
- Altering configurations that break apps or workflows
- Exposing sensitive information to security risks
- Causing general performance slowdowns or crashes
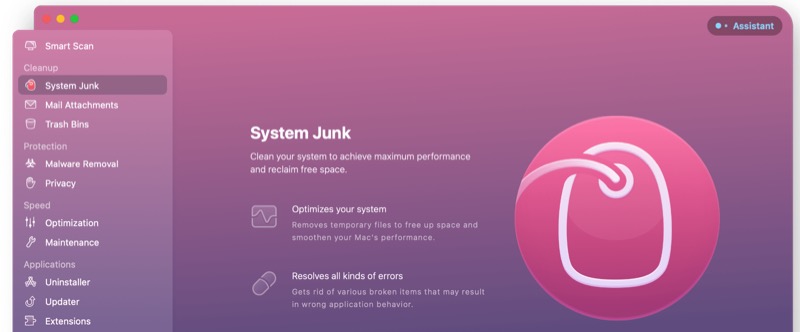
So these were the methods you can try to view hidden files on a mac computer. You can also try Clean My Mac which is an excellent application format computer to keep things organised and keep your mac fast.