The subtitle for a video is significant. If you want your video to reach a wider audience, even if it is in English, the subtitles will help it get more views.
If you don’t have time to do subtitles, there is an easy option. YouTube does it for you automatically.
Watch the Video Tutorial
You don’t have to do anything. The viewers have to enable close captioning, and it will be enabled for them, and the automated subtitles are pretty good.
If the video is not too complicated, if there is only one person like this video talking into the camera, or maybe two people, then YouTube is pretty good at transcribing the audio into subtitles with a few errors here and there.
But the problem is, you cannot edit the errors made by it. Here is the next best solution that does not require too much effort because you’re already doing many things, making the video, editing the video, adding graphics, uploading it, sharing it, and what not.
So my method of adding custom subtitles to your videos will not take a lot of your time.
There are many apps and web apps that will create subtitles out of your videos automatically. These third-party tools services, just like Google, will automatically transcribe your video and make errors here and there. But the good part is that you can fix that and then export it as an SRT file, which is a format for subtitle files.
Transcribe your video using Descript
![]()
And upload it to YouTube. One of the tools I am using for creating subtitles is Descript, and I talked about this software in one of my earlier articles where I tried to remove background music from one of the videos. I was trying to repurpose. It’s excellent software, and the feature was free.
Even this transcribing feature is accessible on descript. So this is how I do it. Once I finish editing my video in my video editor, Final Cut Pro, this will work in any editing software.
Once I export the audio from my video editing software, I also export an audio version of the video because the audio file will be smaller and in the exact timeframe.
When you get a smaller file, it will be easier to upload on Descript because the script will upload it on its servers, then it’ll process it, and then it’ll transcribe that audio.
So instead of uploading the entire video because it’ll be too big, Descript will take time to process it, giving you the transcription.
So it’ll be a lengthy process. So the better thing is to get an audio version of the video and then upload that video to the script. It will upload and process quickly and give you the transcribing in the software, where you can also make a change. If there are any errors here and there, you can export that file into an SRT file, which can be uploaded to YouTube while uploading the video.
And that’s it. That’s the process. It will only take 10 or 15 minutes of yours, but it is worth it.
Edit Subtitles in the Video Itself
If you want to use the subtitles directly in the video. So that it remains there, even when someone downloads the video on their computer, or you want to host that video somewhere else where the subtitle feature is unavailable, you can edit those subtitles into your video editing software.
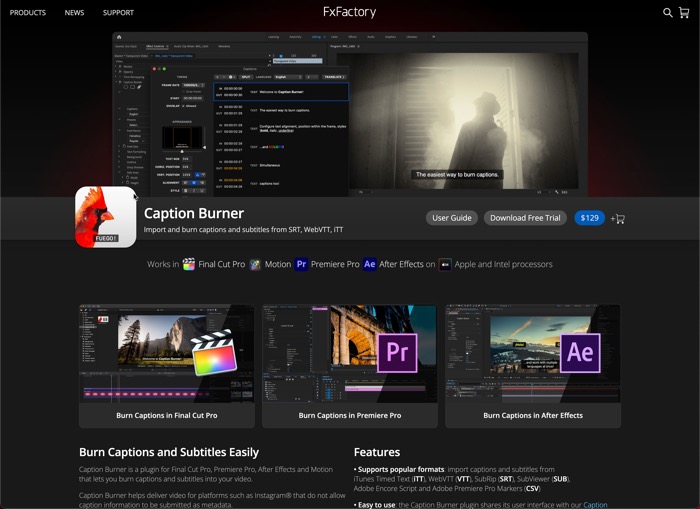
There is an automated method, there is a plugin called Caption Burner for Final Cut Pro, After Effects and Premier Pro. although it is a paid app that costs $129, which is huge money for a plugin that only does subtitles.
But if this is your use case where you want the subtitles inside the video, you have to do it repeatedly. $129 is a smart investment, considering the amount of time you will save. But again, if you want to upload the custom subtitles on YouTube, then the free method is quite excellent.