
In today’s digital world, data is one of the most crucial assets of users. Hence, every Mac user should understand the importance of backing up their device’s data.
The majority of Mac users use their devices to store and manage a plethora of files and
folders.
However, even though Macs are equipped with top-notch internal components and offer top-tier safety and security, they are also susceptible to data loss.
According to Investopedia, data loss takes place when important information stored
on any computer is compromised. Some of the most common reasons for data loss
include theft of the device, cyber attacks, malware, human error, etc.
Experiencing data loss can have grave consequences that can negatively impact users
in more ways than one. Hence, users should know all the ins and outs of backing
up their device’s data.
To ensure users are able to back up any sort of data and store them securely, macOS offers a native backup and restore utility called Time Machine. It is a powerful tool that allows users to clone their Macs and restore them whenever needed. This article will cover numerous aspects of macOS’s native Time Machine
utility, including an in-depth look at the app, how users can set it up and backup their
Mac’s data, add it to the menu bar for easy access, etc. Let us begin:
Time Machine – A Detailed Look:
Time Machine is macOS’s backup mechanism. The native functionality of macOS is
designed to function with both local storage components as well as network-attached
disks. It is, however, most commonly used with external drives connected to a Mac
using USB or Thunderbolt.
Ever since it was first introduced in macOS X (10.5 Leopard), the popularity of the utility has significantly increased. The app functions seamlessly on all supported macOS versions and thus facilitates users to back up all
forms of data without hassle conveniently.
However, there are instances when the utility exhibits an annoying issue. There are instances when the app gets stuck while functioning. There are numerous reasons why
the “Time Machine stuck in preparing backup” presents itself.
For instance, it could occur due to an outdated macOS version, because of malware, etc. Thankfully, there are numerous ways following which users can easily solve the issue. For starters, they could restart the app or uncheck the automatic backup option.
Moreover, they could try disabling the antivirus for some time to see if it was the program that was preventing the app from functioning properly. Besides this, users could also try downloading and installing new macOS updates.
How to Set Up a Drive for Time Machine
In most cases, macOS users prefer using an external hard drive to store their Mac’s
data after creating a backup. Individuals can conveniently create their Mac’s clone
using the Time Machine utility and save it on an external drive.
To do so, users must first plug in the external drive using a thunderbolt or USB port. Users wishing to use the external hard drive for other purposes besides storing the backup must first create a partition.
Once data has been backed up and stored in the external drive, users can use the backup to restore their Mac’s data whenever needed.
How to Back Up Your Mac Using Time Machine:
Whenever you connect an external hard drive to your Mac, you will receive a prompt
enquiring if you wish to back up your Mac’s data on it using Time Machine.
You can either use the Yes option to get the job done or do it manually. To do it manually,
users need to open the app by navigating to the System Preferences utility, clicking on
the add button, and follow the instructions mentioned on the screen to complete the
process.
If the external hard drive contains pre-existing Time Machine backups, the
Users will be prompted to either claim the old ones or choose to create a new backup.
How to Add Time Machine to Menu Bar for Easy Accessibility:
macOS’s menu bar is home to a number of utilities. The useful section facilitates
users to quickly access any app and thereby helps them to save time and effort. If you
wish to access the Time Machine app on your Mac quickly, it would be best to add it
to your Mac’s menu bar.
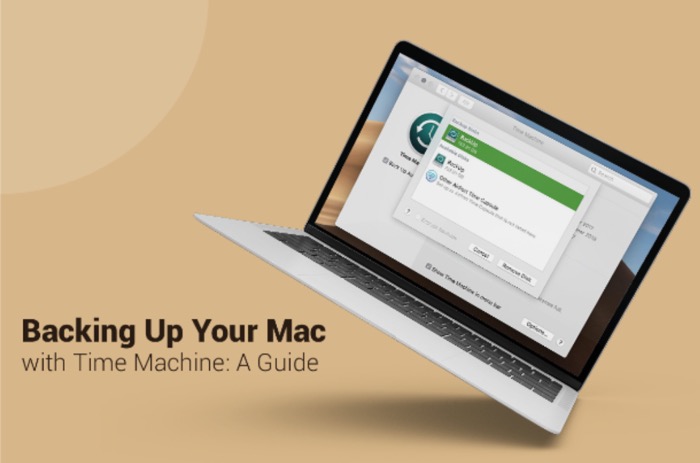
To do so, all you need to do is open the System Preferences
section, click on the Time Machine option and check the box beside the “Show Time
Machine in menu bar” option. Once the app has been added to the menu bar, all the
user needs to do is click on it to access it.
Most macOS users prefer using the native Time Machine utility for creating backups,
primarily because it offers them a simple and easy way to store important data. If you
wish to know more about the backup tool, refer to the points mentioned above.
