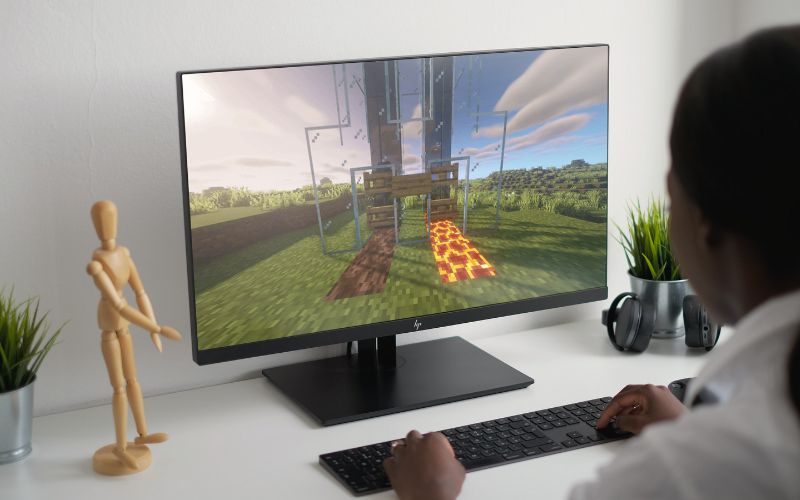
To make a water elevator in Minecraft, you must acquire soul sand and magma blocks. First, place soul sand at the bottom of your column, then cover the top with a block to form a one-block gap.
Next, place a magma block on top of the covering block. After that, use a water bucket to fill the gap on top of the soul sand, thus creating your water elevator in Minecraft.
To add the bubble column feature to your water elevator, you can plant kelp in any water block. Keep the kelp growing tall by adding a water source block on top of it.
To prevent the flowing water from messing up your elevator, create a two-block space around the elevator’s column. This step-by-step guide should help you make a functional water elevator in Minecraft.

What Is a Water Elevator in Minecraft, and How does it work?
A water elevator in Minecraft is a vertical transportation system that allows players to move up or down using water flows. It is a straightforward machine that uses the water’s physics to push the player to the desired destination.
The process includes creating a vertical shaft using blocks of choice, such as glass or cobblestone, and placing water sources at the bottom and top of the shaft.
Players can activate the elevator by entering the bottom water source, which pushes them up to the top or jumping into the upper water source, which carries them down to the bottom.
This type of elevator is also helpful for transporting mobs. Overall, a water elevator in Minecraft is an efficient and straightforward way to move vertically in the game.
What Do You Need to Make a Water Elevator?

You’ll need a few things to make a water elevator in Minecraft. First, you need a water bucket to obtain water to make the elevator. You will also need either kelp or soul sand and magma blocks.
Kelp is the more accessible, straightforward choice because it can be obtained through the game and grows upwards. If you choose this option, you will need several pieces of kelp to place on the top of your elevator.
On the other hand, when placed in the water, soul sand and magma blocks create water bubbles that players can ride to ascend and descend.
The size of your elevator is up to you, but it’s essential to remember that you will need enough blocks to create a shaft for the bubbles to move through. Once you have all of your materials gathered, you can begin building your water elevator in Minecraft.
Video Guide to Make A Water Elevator in Minecraft
FAQs to Make A Water Elevator in Minecraft
Frequently asked questions about Minecraft water elevator are.
Can you still make water elevators in Minecraft?
Yes, water elevators are still possible in Minecraft using soul sand and magma blocks. Players can create a vertical column of water source blocks and place soul sand at the bottom and magma blocks at the top to create a water elevator.
When players enter the water, the bubbles generated by the soul sand will lift them while the magma blocks pull them down, making the elevator functional.
What Block makes a water elevator in Minecraft?
The soul sand block is used to make a water elevator in Minecraft. When players place soul sand in a water source block, it creates bubbles that push items and players upwards. Players can ride the water elevator to higher elevations by standing on the bubbles.
How do you make a water elevator in Minecraft without kelp?

Here are the steps to make a water elevator in Minecraft without kelp:
1. Build a tall column of blocks where you want your water elevator to be. The column should be at least 2 blocks wide and 5-6 blocks high.
2. Place water sources on the top of the column, but leave one Block empty at the top.
3. Create a door or a breakable block at the space so that you can easily step out of the elevator when you get to the top.
4. Place a sign on the wall of your column near the bottom.
5. Create another space, at least one Block wide, one Block below the sign, and put a water source in the space.
6. Then, break the Block under the water source on the lower level.
7. Water will flow from the top of the elevator to the bottom. When you swim into the water stream, hold down the jump button, and you will move up the stream to the top of the elevator.
How do you use soul sand as an elevator?
Here’s a step-by-step guide on how to use soul sand as an elevator in Minecraft:
1. Find a location for your elevator: You can make an elevator in any location in Minecraft, but it’s easier to build it in a central location like your base.
2. Gather materials: You’ll need soul sand (at least 2 blocks high) and any block you choose.
3. Place the blocks: Choose where you want your elevator to be and place soul sand blocks on top of each other. You need at least two blocks to create an elevator.
4. Create a water source: Once you’ve placed your soul sand block, you need to create a water source block. Place a water bucket on top of the soul sand blocks, and it makes a water source. The water source will carry you up to the surface.
5. Add a counterweight: Sometimes, the elevator will instantly carry you to the surface, and you might need more time to get out of the water stream. Add a counterweight to help slow the elevator down. You can use any block of your choice.
6. Test your elevator: Once you’ve placed everything, test your elevator to ensure it works correctly by swimming into the water stream.

