
Cinematic-looking video isn’t about expensive cameras — it’s about how you edit. Colour grading, aspect ratio, music, and pacing are the things that actually make mobile video feel like it belongs in a film. Here’s exactly how to do it.
Short Answer: The four things that make mobile video look cinematic: add black letterbox bars (2.39:1 aspect ratio), apply a LUT or colour grade (desaturate slightly, lift blacks), slow down or stabilise shaky footage, and match your cuts to the music beat. All of this is possible for free with CapCut or DaVinci Resolve Mobile.
1. Add Cinematic Letterbox Bars (2.39:1 Ratio)
The black bars at the top and bottom of cinema-style videos are the single fastest visual upgrade. They immediately signal “this is a film.” In CapCut:
- Import your video → tap Ratio → select 2.39:1 (or manually crop to that ratio)
- Alternatively, in any editor: add a black bar overlay at top and bottom of your 16:9 video
- CapCut has a “Cinematic” format option that applies the bars with one tap
📸 SCREENSHOT NEEDED: CapCut showing 2.39:1 cinematic aspect ratio applied to a video with black letterbox bars
2. Colour Grade for a Cinematic Look
Most phone footage looks bright and saturated. Cinema footage is graded to be more muted. The basic cinematic grade:
- Reduce saturation by 10–15% (less vibrant, more filmic)
- Lift the blacks (shadow area) slightly — makes dark areas grey-ish rather than pure black, like film grain
- Reduce highlights slightly to prevent blown-out bright areas
- Add a subtle teal-orange look (teal shadows, warm highlights) — the most common cinematic grade
In CapCut: Effects → Color filters → try “Cinematic,” “Film,” or browse the LUT library. In DaVinci Resolve Mobile, use the Color Wheels tab to adjust lift (blacks), gamma (midtones), and gain (highlights) independently.
📸 SCREENSHOT NEEDED: DaVinci Resolve Mobile colour grading panel showing lift/gamma/gain wheels and saturation adjustment
3. Use Slow Motion Strategically
Slow-motion clips give videos a cinematic weight. Film at 60fps or 120fps on your phone, then slow it to 50% or 25% in editing. Key moments — a reaction, a movement, a reveal — benefit from being slowed down. Don’t slow everything, only the most visually interesting moments.
In CapCut: tap a clip → Speed → Curve → select a slow-down pattern, or manually draw the speed curve to ramp in/out of slow motion.
4. Match Cuts to Music
Random cuts feel amateurish. Cuts on the beat feel cinematic. Import your music first in CapCut, then add an auto-beat marker (tap the music → Auto-beat). This places markers at each beat. Then trim your video clips to end/start at those markers. The synchronisation makes any footage feel more intentional.
5. Use Transitions Sparingly
The most common editing mistake is too many fancy transitions. Cinematic editing uses mostly hard cuts (no transition) or very subtle cross-dissolves. Save complex transitions (whip pan, light leak) for moments that specifically justify them. Less is more.
6. Stabilise Shaky Footage
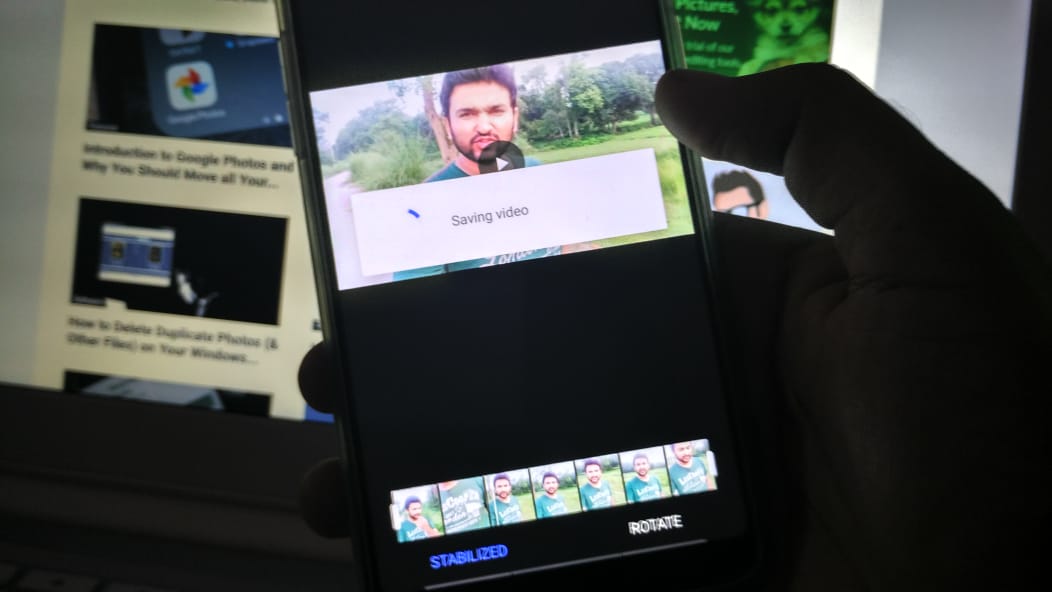
Even slightly shaky footage looks amateurish. In CapCut: select a shaky clip → Stabilise → choose the stabilisation strength. Strong stabilisation crops the edges slightly but eliminates camera shake. Google Photos also has a stabilisation tool in its edit panel for individual clips.
Best Free Apps for Cinematic Editing
- CapCut: Most accessible, pre-built cinematic templates, good LUT library, free
- DaVinci Resolve Mobile: Professional colour grading tools, free, no watermark
- VN Video Editor: Clean interface, good for multi-clip timelines, no watermark, free
- Adobe Premiere Rush: Good for multi-device workflows (start on phone, finish on desktop)
Cinematic edit checklist:
Apply 2.39:1 ratio → colour grade (reduce saturation, lift blacks) → slow-motion key moments → cut on beat → stabilise shaky clips
Warning: CapCut is free but some effects, filters, and templates require a Pro subscription. The core editing tools (colour, speed, ratio, cuts) are completely free — you don’t need Pro for a cinematic look.
Quick checklist:
- ✅ Applied 2.39:1 cinematic ratio before other edits
- ✅ Reduced saturation and lifted blacks in colour grade
- ✅ Enabled auto-beat markers before cutting clips to music
- ✅ Used stabilisation on any handheld footage
- ✅ Avoided excessive transitions — mostly hard cuts
Frequently Asked Questions
What frame rate should I shoot for cinematic video?
24fps is the traditional cinema frame rate and has the most “filmic” look. Most phone cameras support 24fps in their camera settings. For slow-motion clips, shoot at 60fps or 120fps and slow it in editing — this gives you smooth slow motion. Regular footage at 24fps, slow-mo material at 60fps+.
Do I need a gimbal for cinematic mobile video?
Not necessarily. Software stabilisation in CapCut handles mild shake well. For walking shots or action footage, a gimbal (DJI OM series, ~₹8,000–₹12,000) makes a significant difference. For stationary shots, a simple phone tripod (₹500–₹1,000) eliminates shake without any software processing.
What’s a LUT?
LUT stands for Look-Up Table — it’s a colour grade preset that transforms your footage’s colours in one click. CapCut has a LUT library under Effects → Filters. Free cinematic LUTs are also downloadable from sites like LUTsLand and Ground Control — import them into CapCut or DaVinci Resolve.
Conclusion
The 2.39:1 letterbox bars and colour grade are the two highest-impact changes for zero cost. Add those to any footage and it immediately looks more intentional. Syncing cuts to music is the next biggest upgrade. Start with CapCut — it has everything you need and the learning curve is minimal.
See also our guides on how to take cinematic shots on mobile and the best video editing apps.