
There is an easy way you can edit your videos to the beats of a music that gives you cut to the music effect right on your mobile phone.
If you ever wanted to create cinematic videos on your mobile phone, editing it so that the scenes changes with every beat to the music is a part of creating cinematic videos.
and here is a simple solution that you can use right on your mobile phone. The app I am talking about here is Adobe Premiere Clip for Android.
It is a simple video editor for Android devices that is 50 MB in size and is available to download for free.
The great thing about Premier CLip is, there is no watermark or limitations for Exporting videos.
Adobe Premiere Pro for desktop is quite an expensive software. It is so amazing that the company has decided to offer this software for Android for free.
Obviously, it is not as comprehensive as the desktop counterpart, but it surely get one job done perfectly.
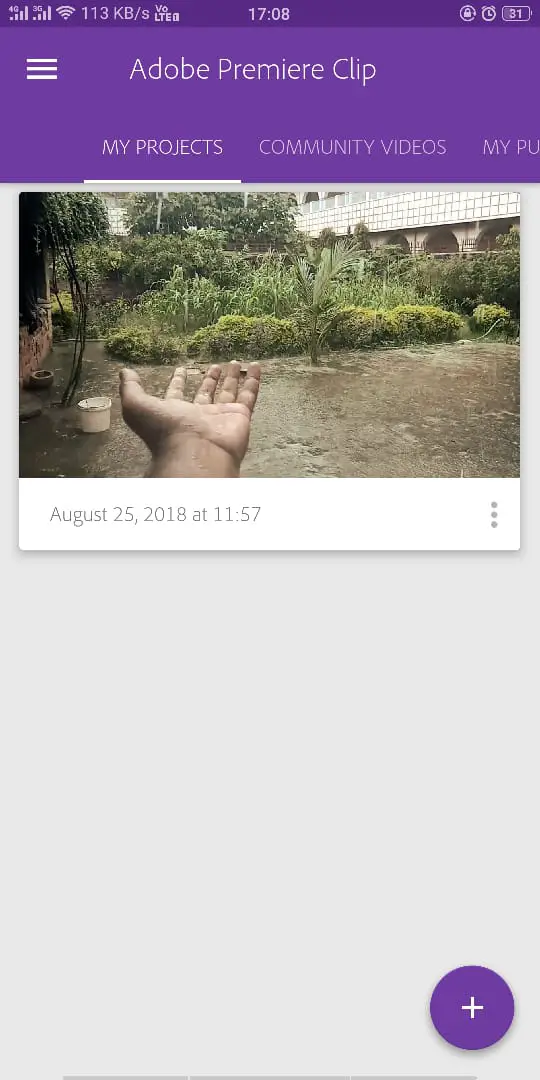
Here is one such example created using the Adobe Premiere Clip App
There isn’t much done here manually. All I did was, put the clips into the app, arrange them accordingly, add music, let it process, teak the individual clips a bit, add a colour filter and we are done.
How to edit To The Beat using Adobe Premiere Pro on Android
Once you have installed the app on your Android device, open it.
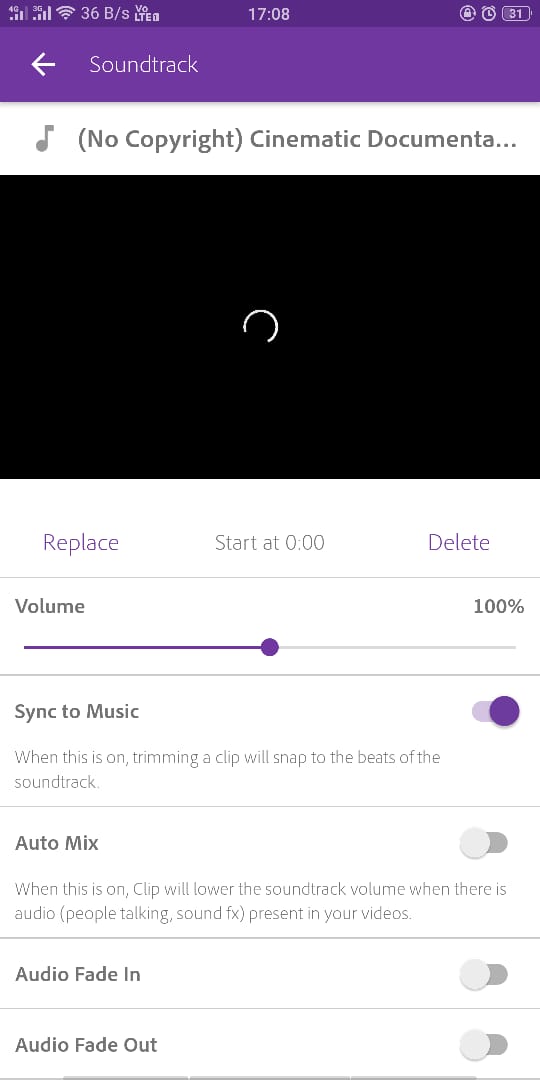
You can add up all the video clips that you want to edit and then select the music.
After adding the music you get two options, when is which will automatically detect the beats in the music and cut the videos accordingly.
And the others option will give you the usual timeline where you can cut particular video clips and edit them to the beat.
Once you are happy with the result you can export the video. You can export it full HD video resolution.
The manual Method can be a little bit of time-consuming, so you can choose the automatic method, which works pretty well.

After getting the result from the Automatic method, you can adjust the scenes from particular clips to be visible using two finger gesture.
With some minor tweaks, you will end up with a really nice looking video. You can then add a colour filter to the video to make it look cinematic.
If you have shot videos from a Smartphone camera with Image stabilization, the result is going to be even better as you will have smooth shake free videos to work on.
However, here is how you can stabilize your shaky mobile videos before putting them into Adobe Premiere Pro, this will give you an equally good result. (I did the same).
Here is another video created using Adobe Premier Clip
https://www.instagram.com/p/Bm3fmT-l-8O/?taken-by=lucknowtips
You can check out the complete guide to creating cinematic videos right on your mobile phone, on our blog.