
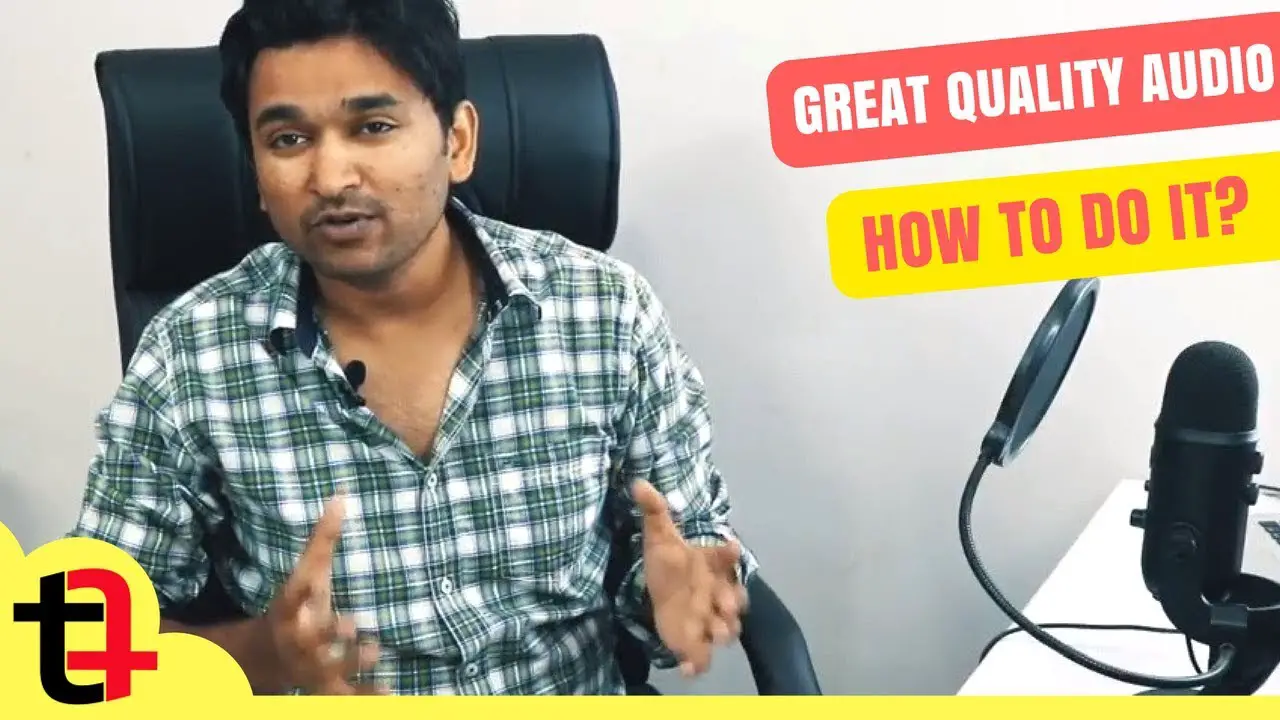
Viewers will forgive slightly soft video. They won’t forgive bad audio. Research consistently shows that audio quality has a bigger impact on perceived video quality than video quality itself. Here’s how to get it right on any budget.
Short Answer: The single biggest upgrade for most YouTubers: stop using your camera’s built-in mic and use a dedicated microphone. A $40–60 lavalier mic or a $100 USB mic makes a more dramatic improvement to production quality than upgrading your camera.
The Microphone Hierarchy (By Budget)
Under $50: Budget Lavalier (Lapel) Mics
A clip-on lavalier mic placed near your mouth produces far cleaner audio than a camera mic placed across the room.
- Boya BY-M1: $20–25. Clips on your shirt, connects via 3.5mm to phone or camera. Dramatically better than built-in mics.
- Rode SmartLav+: $60. Higher quality with better noise rejection. Worth it if you plan to record frequently.
$100–$150: USB Desktop Microphones
For desk-based recording, voiceovers, tutorials, and podcasting:
- Rode NT-USB Mini: $99. Clean, detailed cardioid capture. Best USB mic at this price in 2026.
- Blue Yeti: $129. Four polar patterns, excellent quality. A classic for a reason.
- HyperX QuadCast: $149. Popular with streamers, tap-to-mute, good build.
$150–$300: XLR Microphones (Requires Audio Interface)
For highest quality, an XLR mic paired with an audio interface (like the Focusrite Scarlett Solo) gives professional results:
- Audio-Technica AT2020: $99 XLR mic + ~$100 Focusrite Scarlett Solo = excellent studio-quality setup
- Shure SM7B: $399. The podcaster’s gold standard. Warm, broadcast-quality sound. Best for voice work.
📸 SCREENSHOT NEEDED: Boya BY-M1 lavalier mic clipped to a shirt lapel, 3.5mm connector visible at end of cable
Room Treatment: Often More Important Than the Mic
The best microphone in a reflective, echoey room still sounds bad. Audio treatment is often more impactful than upgrading your mic:
- Record in a small, carpeted room — hard surfaces create echo
- Record inside a closet full of clothes — the best free acoustic treatment
- Add acoustic foam panels ($25–50 for a set) on the wall behind and beside your microphone
- Use a desk-mounted reflection filter (~$30) that wraps around your microphone to reduce room echo
📸 SCREENSHOT NEEDED: Acoustic foam panels mounted on a wall behind a desk microphone setup in a home office
Audio Post-Processing
Even good recordings benefit from minimal processing:
- Noise reduction: Remove background hiss in Audacity (free), Adobe Audition, or the free DaVinci Resolve Fairlight audio tools
- EQ: Cut low frequencies below 80Hz (rumble), boost slightly around 3-5kHz for clarity
- Compression: Evens out volume differences between quiet and loud speech
- Loudness normalization: Aim for -14 LUFS integrated for YouTube (YouTube normalizes all audio to this level)
Free Audio Tools
- Audacity: Free, excellent noise reduction, basic EQ and compression
- DaVinci Resolve Fairlight: Free professional audio tools included with DaVinci Resolve
- Adobe Podcast Enhance Speech: Free web tool that uses AI to dramatically clean up any voice recording — paste a link or upload a file at podcast.adobe.com/enhance
Free upgrade that costs nothing:
Adobe Podcast Enhance Speech (free at podcast.adobe.com/enhance) uses AI to remove room noise and improve clarity from any voice recording. Upload your raw audio and download the cleaned version. It’s genuinely impressive on budget mics in untreated rooms.
Quick checklist:
- ✅ Clip a $25 Boya BY-M1 to your shirt — more impactful than any camera upgrade
- ✅ Record in a closet full of clothes for the best free acoustic treatment
- ✅ Add acoustic foam panels behind your mic position
- ✅ Use Adobe Podcast Enhance Speech (free) to clean up any recording
- ✅ Aim for -14 LUFS loudness for YouTube — normalize in your editor
- ✅ Use a pop filter to reduce plosives (P and B sounds hitting the mic)
FAQ
What microphone do most YouTubers use?
The most common microphones among mid-size YouTubers are the Blue Yeti, Rode NT-USB Mini, and Shure SM7B. Budget creators often start with the Boya BY-M1 or a basic lavalier. The SM7B is the aspirational standard for voice-focused channels.
Is wireless better than wired for lavalier mics?
Wireless is more convenient but more expensive and can introduce interference. For most solo recording setups, a wired lavalier (3.5mm or USB-C) is perfectly adequate. Wireless is worth it for interviews, walking shots, or any scenario where cable management is impractical.
How do I reduce echo in my home recordings?
Move to a smaller room, add soft furnishings (rugs, curtains, shelves of books all help), and use a reflection filter around your mic. Recording inside a large wardrobe is the classic free solution — the hanging clothes absorb echo effectively.
Best Microphones for YouTube ↗How to Start a YouTube Channel
Better audio is the highest-ROI upgrade for most YouTubers. A $25 lavalier mic and 15 minutes with Adobe Podcast Enhance Speech will improve your videos more than a $500 camera upgrade.