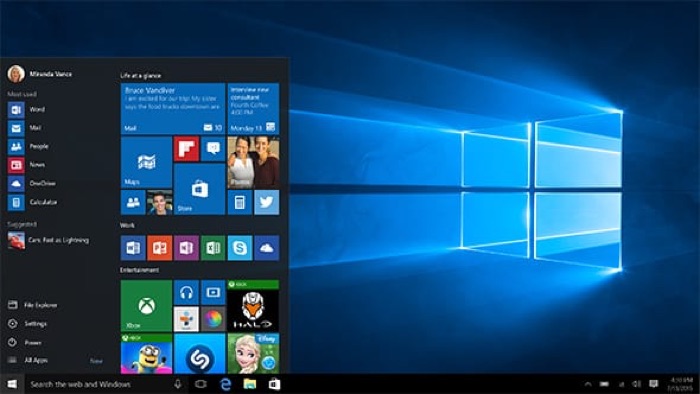
So, did you upgrade to Windows 10? Hopefully, you did it already, that’s why you are reading this article in the first place.
Well, if you are on Windows 10 (and are a bit of curious mind like me) you must have seen that Windows.old folder in the C Drive?
Well, that’s where your older version of OS resides. Yes, the Windows 8.1 or 8 depending on that version of Windows you upgraded from.
How to Delete the Windows.old Folder.
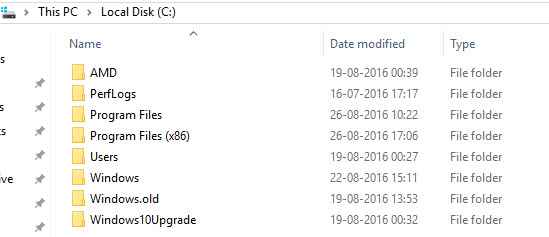
Well, since you are no longer using the older version of the OS, it is a good idea to make some space on the C Drive of your Hard Disk by deleting the Windows.old.
But you can not just go and hit the delete button, you are usually accustomed to deleting something. And no, Shift + Delete, won’t delete it completely either.
Here is what you can do to delete the Windows.old Folder in Windows 10.
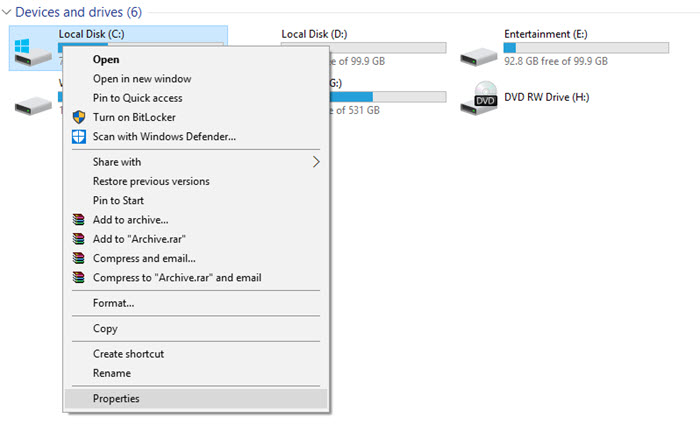
Step 1: Right click on the C Drive and then click on Properties.
Step 2: In the General Tab, click on ‘Disk Cleanup’
Step 3: A new Windows will pop up where you have to click on ‘Clean up system files’
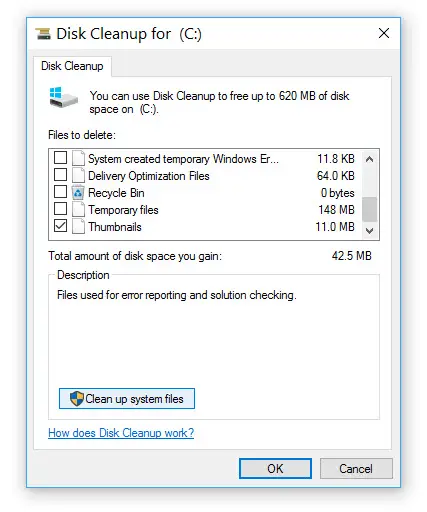
Step 4: Once you click on ‘Clean up system files’ you will have to wait for a few seconds for the system to scan all the files.
Step 5: It will then show a list of files, scroll down till you find ‘Previous Windows Installation’ Select and click ok,
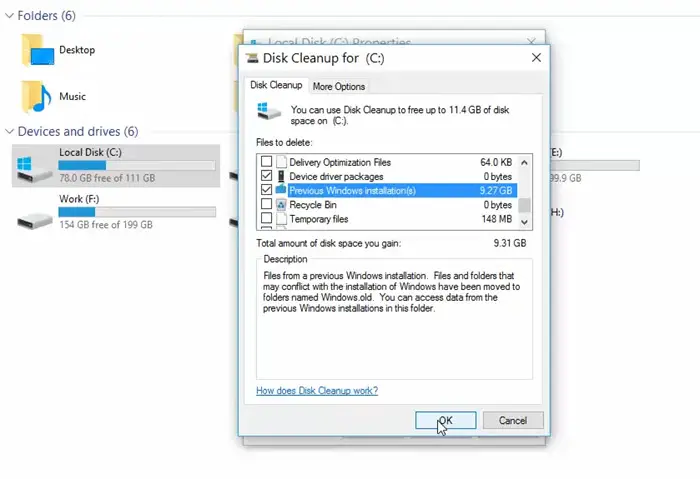
Step 6: A popup will appear to confirm, click on ‘Delete Files’ and you are done.
Watch the video tutorial
Read this before deleting the Windows.old Folder
Okay, so you learned the right way to delete the Windows.old folder but there is a good reason you might want to wait for a little.
Since you have upgraded to Windows 10 from the previous. version, Windows keeps the older version safe in case you would want to roll back to the previous one. You can go back to the previous OS until 10 days after installing Windows 10.
So, unless you are really in need of some space, it’s better to keep it there.

