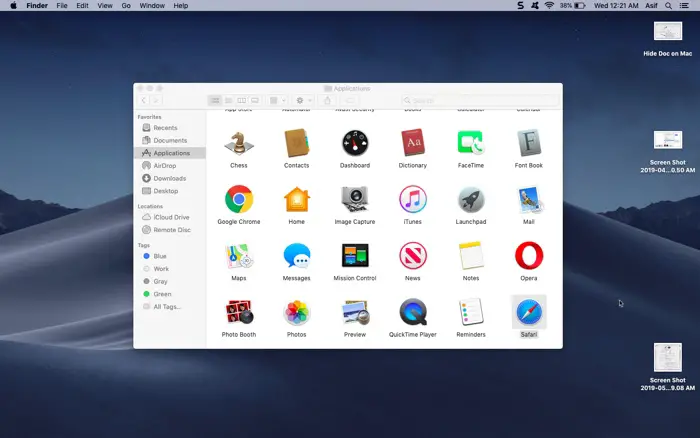
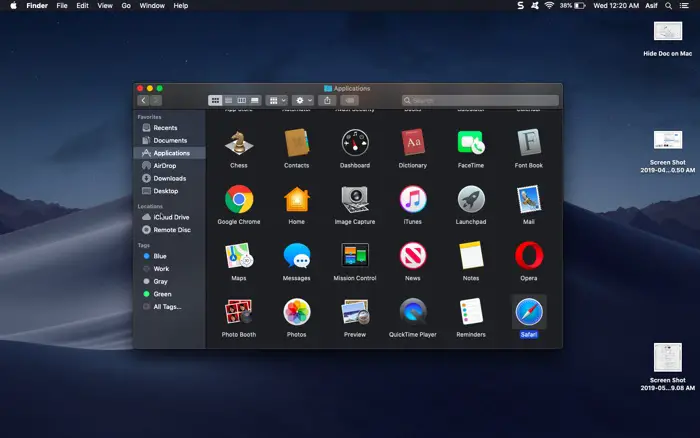
Looking to know how you can enable Dark Mode in MacBook? Continue reading this article to know more about it
With the advancement being stalled, for the time being, the Dark Mode is all the rage in the market.

It’s not just Google or Facebook, which is crazy for providing the Dark Mode in their apps, it’s Apple as well.
Recently, Apple has introduced the Dark Mode as a native Option to choose from for the appearance of it’s OS, called the MacOS Mojave.
The macOS Mojave has a theme called Dark, which turns the appearance as, as the name suggests, Dark.
Turn on the dark mode in Mac OS?
First off, you need to be on macOS Mojave, which called released in 2018.
If you haven’t already updated your machine, you should since this Mac OS supports machines as old as the year 2012.
If we have updated it already, you can go to the System Preferences by clicking on the Apple icon on the top left-hand side.
In the system preferences window, you will find two thumbnails in the appearance section, one is light, and one is dark.
When you click on the dark, everything from the Quick Launch bar, to the Finder, to Navigation bars of all other apps turn black.

The implementation of the dark color in different areas of Mac OS is quite subtle.
What are the benefits of having Dark Mode on Mac OS?
Since the screens on Laptops isn’t as advanced as the screen on Mobiles, the Dark Mode doesn’t really help in power efficiency.
Even if it is, it is going to be negligible, but there are still other benefits of having a dark mode on your MacBook.
Such as, they won’t be really too much strain on your eyes, which is quite helpful when you are working in dim light areas, or no lights at all.
It is also pretty cool to have a choice, and you can switch between the dark and light mode occasionally if you feel bored, looking at the similar user interface.
So, so I hope this article is useful to you, you can find more Mac Tips on our blog by following this tag.

