
If you are a blogger or an influencer, or a company that has got a web-based product, creating tutorials and helpful guides for your users is part of the job.
Tutorials are easy to follow because of their visual nature. Using a lot of graphics, screenshots, and charts makes it easy for the users to follow.
What differentiates between professional tutorials and not so professional tutorials is their clarity and easy to understand visuals.
Create A Broader Tutorial
While it is helpful for the readers to go through a specific tutorial, it will be stressful for you to create multiple tutorials and select the right one.
The best way would be to identify a broad problem, query, which may have a few more queries along with the steps of a certain process. You can then specify each query or address a common question.
Making Use of the Headings,
And sub heading to separate points,
Bold the key words,
- Use the bullet points for steps
- Because it makes it easy to read.
Add many images; it could be screenshots of the web product you are teaching your readers about or photographs of the physical products showing each critical step clearly.
One in-depth, high-quality tutorial is far better than creating multiple tutorials for similar queries or tasks.
Tools For Creating Charts and Graphs,
Use websites like Canva, PiktoChart etc. I use Canva almost every day. It is a web-based app and also has an Android and iOS app.
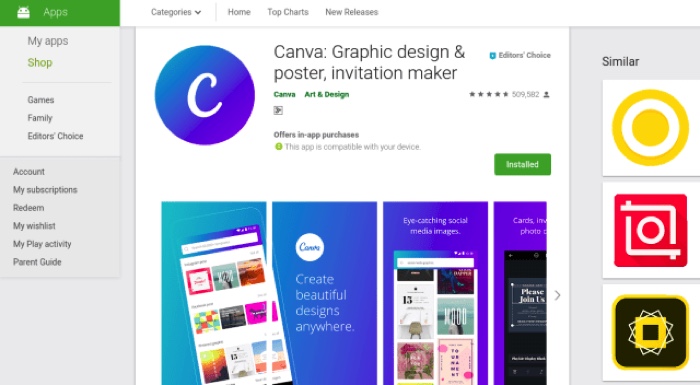
Apart from using it for creating high quality tutorials, I also use it for creating Social Media graphics. The mobile app makes it easy to do it on the mobile.
Tools For Creating Screenshots and Annanoting them with Arros and Texts
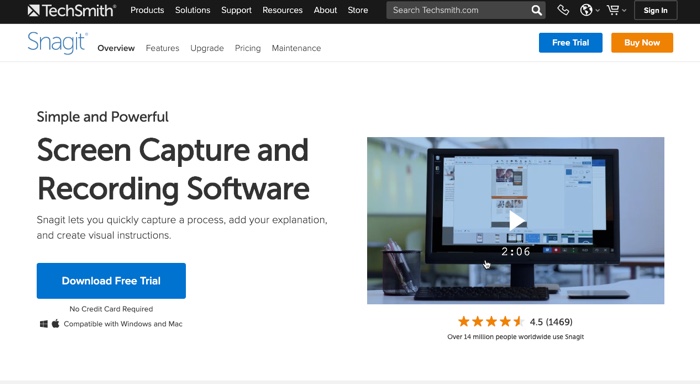
You can use Snagit. You can download Snagit for Free and try it for 30 days without purchasing. This is enough time to know its value for doing professional tutorials.
Snagit Editor is a helpful tool, not just as an app to annanote screenshots, but you can edit images and photos you download from the internet. It’s a quick tool to make minor edits and manipulations to any image.
Almost every image I upload to my blogs has to go through the Snagit Editor to make sure it’s at a particular dimension, jpeg with 80% of its quality to make it weigh under 100kb. So, I guess it’s a must-have tool for bloggers like me.
Tools Required for Creating Screencast Tutorials
If you are creating screencast or screen capture type tutorial videos, you can also look at Camtasia, which is from the same company the Snagit app is from.
The Camtasia app also has an inbuilt Video Editor with features perfect for creating high-quality tutorials. I used the video Editor for a long time after Windows Movie Maker and completed 100s of videos.
I’ll do a dedicated article mentioning all the tools and steps you need to create professional screencast tutorials which you can read here.
