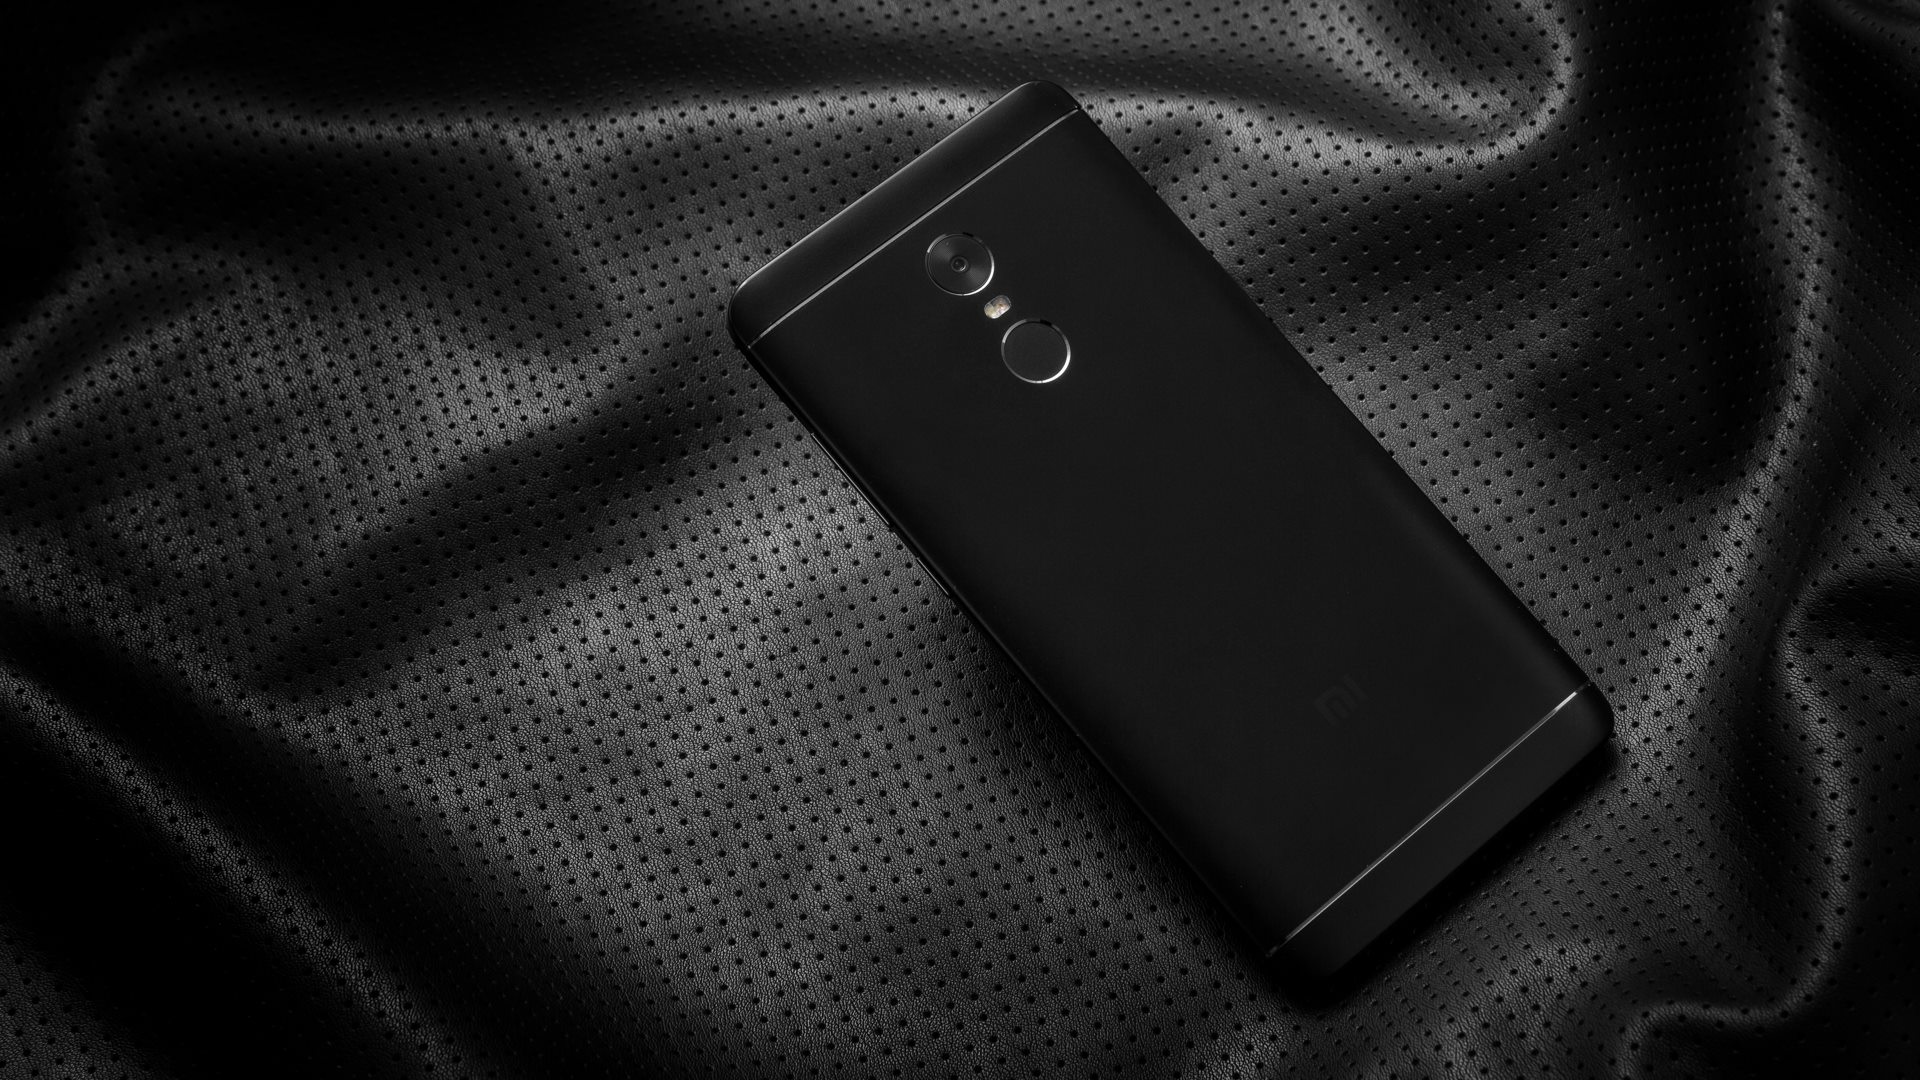
In this article, we are going to talk about how you can Root Xiaomi Redmi Note 4, Redmi 4 or any other Xiaomi device.
But before we do that I want you to understand the potential risk a rooted device carries.

Your smartphone would be more prone to hacks since the access to the root or system files is granted. This is why banks restrict the installation of the apps on rooted devices,
Some might just warn you of the consequences, while some might not let you use their services at all.
Also, since you get access to the system files, you may accidentally delete some files that are required for the Android OS to run smoothly, resulting in your phone to become a piece of brick.
But, having said that, if you are a little bit of tech savvy, you won’t be having any issues as such.
I would still like to take the time to put a disclaimer that Techtippr will not be responsible if any of the above things happen to you after following this guide.
Step 1: Unlock the Bootloader
Xiaomi has tightened the security of their smartphones by locking the bootloader, which keeps anyone from flashing a custom recovery, which is something required for rooting the device.
So, you will need to have the bootloader unlocked, fortunately, you can request for the unlock code from Xiaomi but it requires a bit of patience since it might take a few days to get it.
You can head over to this webpage to request the unlock code, simply fill up the form mentioning the reason why you want to unlock the bootloader.
You will get the bootloader unlock code in one or two days. Once you get the code you will have to wait for at least 72 hours before unlocking the bootloader.
Once you are past that date, you can download unlock tool and unlock the bootloader.
Step 2: Flash Custom Recovery
Now that the bootloader is unlocked, it’s time to flash a custom recovery for your redmi Note 4, you will have to pick the right custom recovery file for your phone since this guide is specifically for redmi Note 4. I will put the link below.
You might have to change the name of the image file to TWRP dot image to simplify the use of commands we will be using it is to simplify the use of commands we will be using in this guide.
There are several methods to flash custom recovery but the one we would be using is probably the easiest and requires an additional software called Minimal ADB Fastboot.
Once you have downloaded and installed minimal ADB, move the TWRP.img file to the minimal ADB folder in the program files, the file path is mentioned below.
C:\Program Files\Minimal ADB Fastboot
Once you are done with that, launch minimal ADB and Launch Minimal ADB Fastboot and type this command.
“fastboot flash recovery twrp.img“
This picks up the recovery image and loaded to the phone.
Type this command. “fastboot boot twrp.img”
(This will flash the twrp recovery image to the phone, might take few minutes)
The TWRP would be flashed to your Redmi Note 4.
Step 3: Root Redmi Note 4
Now, download the magisk.zip, lazyflasher.zip is it file on your PC and transfer it to your mobile, and flash the Magisk.zip from TWRP, and then the lazyflasher.zip, and then reboot the phone.
The first reboot takes a few minute and it will be rooted.
Install the ES explorer app if you haven’t already, and enable root access. which will also let you uninstall system apps and much more.

