
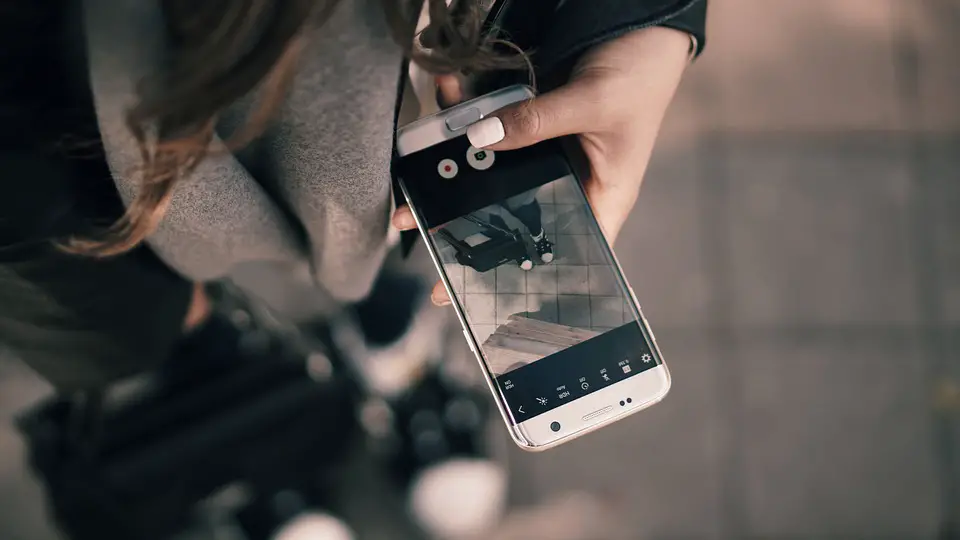
The camera on your phone is better than most dedicated cameras from ten years ago. But the difference between a great shot and a mediocre one has almost nothing to do with the hardware — it’s about how you use it.
Short Answer: The five biggest improvements: clean your lens, tap to focus and lock exposure, use the rule of thirds grid, use Portrait mode or wide aperture creatively, and shoot in RAW if your phone supports it. These apply to any smartphone — iPhone, Samsung, Google Pixel, or budget Android.
1. Clean Your Lens
This sounds obvious, but a smudged lens cuts sharpness more than any camera setting can fix. Your phone spends most of its time in your pocket or hand — both leave oils on the lens. Wipe it with a soft cloth before any photo you care about. Microfibre works best; your shirt works in a pinch.
On phones with multiple lenses, clean all of them — the ultra-wide and telephoto lenses are easy to forget.
2. Tap to Focus, Lock Exposure
Smartphones autofocus and autoexpose to the centre of the frame by default. Tap the subject you actually want sharp. On most phones, you’ll see a sun/brightness slider appear — drag it up or down to adjust exposure before taking the shot.
On iPhone: tap to focus, then long-press the same spot to lock both focus and exposure (AE/AF Lock appears). Now you can move slightly without the camera re-adjusting. On Android, most camera apps work similarly — tap to focus, swipe the brightness icon to adjust.
📸 SCREENSHOT NEEDED: iPhone camera showing AE/AF Lock indicator after long-pressing to lock focus and exposure
3. Turn On the Grid and Use Rule of Thirds
The rule of thirds divides your frame into nine equal sections with two horizontal and two vertical lines. Placing your subject at the intersection of these lines (not dead centre) creates naturally more pleasing compositions.
Enable the grid: iPhone → Settings → Camera → Grid. Android (Samsung) → Camera → Settings → Grid lines. Once the grid is on, you start composing differently almost automatically.
📸 SCREENSHOT NEEDED: Smartphone camera viewfinder with grid overlay enabled, showing a portrait subject positioned at a rule-of-thirds intersection
Enable camera grid:
iPhone: Settings → Camera → Grid ON | Samsung: Camera → Settings → Grid lines | Pixel: Camera Settings → Grid type
4. Use Portrait Mode (and Know When Not To)
Portrait mode blurs the background to make your subject stand out — mimicking the look of a professional camera with a fast lens. Use it for people, pets, and objects where the background is cluttered. Don’t use it for landscapes, architecture, or group photos where you want everything sharp.
The limitation: portrait mode uses computational photography, not real optics. It sometimes incorrectly blurs parts of your subject’s hair or glasses edges. Always check the preview carefully before accepting the shot.
5. Shoot RAW If Your Phone Supports It
JPEG photos are processed in-camera — sharpened, colour-corrected, compressed. RAW files contain all the unprocessed sensor data, giving you much more latitude to adjust exposure, white balance, and shadows in editing without quality loss.
Most flagship phones support RAW: enable it in Camera Settings → Format → RAW (iPhone Pro models), or use the Pro mode in Samsung/Google cameras. You’ll need an app like Lightroom Mobile (free) or Snapseed to edit RAW files on your phone, or Adobe Lightroom on your computer.
Warning: RAW files are 5–10x larger than JPEGs. Make sure you have enough storage and that your backup service (Google Photos, iCloud) handles RAW formats — some services convert RAW to JPEG automatically.
Quick checklist:
- ✅ Wiped the camera lens before shooting
- ✅ Tapped to focus on the subject (not relying on centre autofocus)
- ✅ Enabled grid lines in camera settings and applied rule of thirds
- ✅ Tried Portrait mode for subject photos with busy backgrounds
- ✅ Checked if phone supports RAW in Pro or advanced camera mode
Frequently Asked Questions
Should I use the zoom on my phone?
Use optical zoom (2x, 3x, 5x marked on the viewfinder) freely — it uses a dedicated telephoto lens and produces sharp photos. Avoid digital zoom (anything beyond the lens’s native focal length) — it’s just cropping, which reduces quality. You’re better off moving closer or cropping in editing.
What time of day is best for smartphone photography?
The “golden hour” — the hour after sunrise and before sunset — gives warm, directional light that flatters almost any subject. Midday sun creates harsh shadows and blows out highlights. Overcast days actually produce excellent light for portraits — even, diffused, no harsh shadows.
Does the night mode actually help?
Yes, significantly. Modern Night Mode (iPhone, Pixel, Samsung) takes multiple exposures and combines them to get a bright, relatively noise-free shot in low light. Hold your phone still (lean against a wall) for the best results — the longer the exposure count in the viewfinder, the more stable you need to be.
Are third-party camera apps worth using?
For most people, no — the stock camera app on modern phones is well optimised for the hardware. The main exception: Lightroom Mobile’s camera gives you full manual control and shoots directly to RAW, which is useful if you plan to do serious post-processing.
Conclusion
Tap to focus, compose on the thirds, and keep your lens clean — those three habits improve 90% of your photos immediately. Portrait mode and RAW are worth exploring once you’re comfortable with the basics.
Looking for more photo tips? Check our guides on the best photo editing apps and the best Android apps.
Best Photo Editing Apps ↗ ↗Best Android Apps